

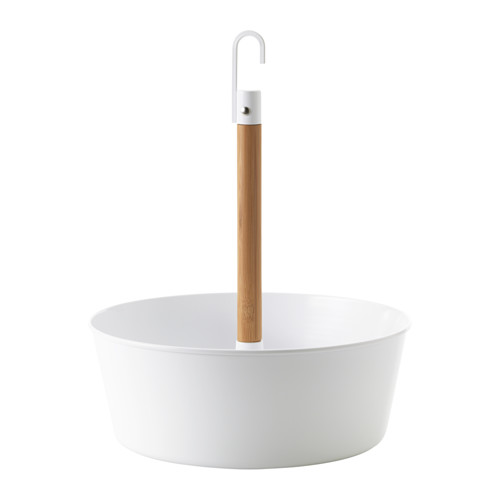
TVs, ceiling lamps, hanging plants are DAUNTING. If not hung properly, they’ll crash and break and probably hurt someone in the process. I’m not denying I’ve learned this from experience. So, there’s limited space in our new apartment, which is why we (I) decided to follow the trend and hang a couple plants! I found this cool (and cheap!) $10 planter at Ikea. It’s simply, clean… and when I have time I may just paint some fun stripes on it.
To hang it, here’s what I bought:
1. Instead of a rope or rod, I liked the idea of hanging the planter from a gold chain. So for $2, I bought 2 feet of silver chain from our local lighting store. Then, I sprayed painted it gold 🙂 You can also sometimes find already sprayed gold chains. Use a set of pliers to make it the length you prefer by removing excess links. I wanted out planter lower than usual so I could see the flowers better, water them easier, give them good sun, and break up some of the empty space.
2. a proper SWAG hook kit — you can get these at your local hardware store for $1.50 — Ace Hardware! ( I bought a gold one to match) Make sure it includes a spring toggle wing and screw bolt. They usually come in two packs.

3. You’ll need a drill to make a hole to push the toggle and screw into the ceiling. Make sure the drill bit used is the same size as the bolt. The one I bought required a 3/16 in. bit. Also, know the material you are drilling into – if it’s cement or brick you’ll need a different type of drill bit. Check with your hardware store if you’re unsure.
How to Hang it
1. Drill a hole into the desired spot. Again, make sure you are using the correct bit, it matches the material you’re drilling into, and it’s the same size as the bolt.
2. Attach the hook on one side of the bolt. On the other side, screw the bolt into the hole between each side of the spring toggle. Make sure the toggle isn’t screwed on too far, as it needs to be able to close completely to get through the drilled hole.


3. After drilling the hole, you need to push the entire device into the hole — to the other side of the wall — except, of course, the hook. Once you do this, the spring toggle will pop back open – SUCCESS!
4. Once you’ve popped it in, pull down snuggly on the hook, and begin to turn the hook clockwise. This will screw the spring toggle closer to the hook (from inside the wall) so that all that is between the hook and the toggle is the wall – this will prevent the entire hook from falling out and ripping the ceiling on the way down. Whoop!
5. Then, hang yo shit and make it look good. (Who needs Task Rabbit anymore?) Daffodils and lavender purchased at Trader Joes! $5 each, what a deal. (Our local nursery is still closed for winter — on the first day of spring — and yes it’s about to snow. ugh).
Protip: Where’s all the water gonna drain? Below the plants, I placed a bunch of pebbles to help hold drained water. This will prevent your flowers from drowning. You can even buy pebbles at Ikea for like a buck.


