Mathilde & Jason’s Space

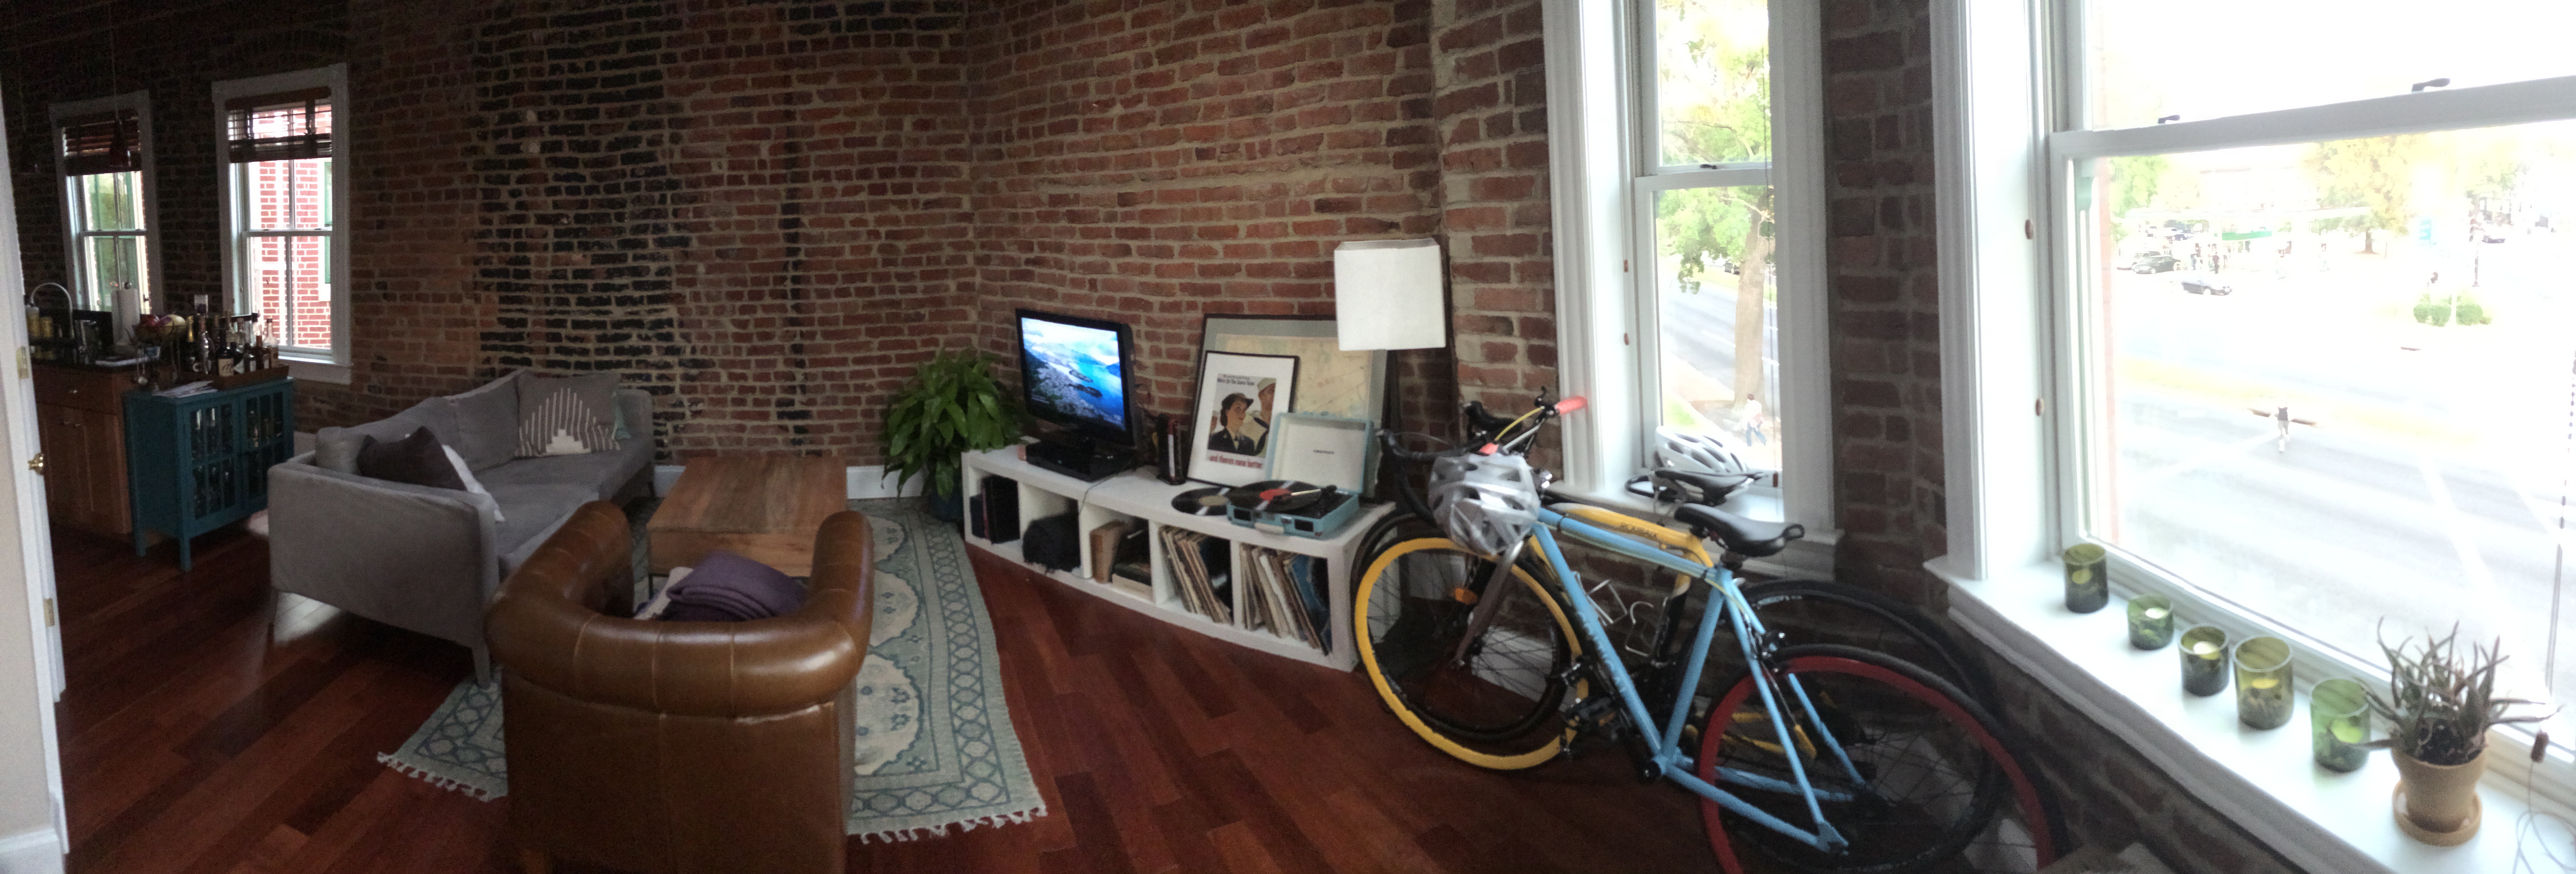
My friend Mathilde lives in a gorgeous home in Williamsburg. She and her husband have the top two floors — the upper level being used as a massive office and spare room. Their living room has so much potential – beautiful wide panel flooring, a maintained brick wall, bright, big windows. The space is great, and allows for a dining area and living room.

Like so many of us, Mathilde is on a budget! So most of her furniture came from Craig’s List, Housing Works, and the likes. She also has a great collection of art work, but isn’t sure exactly how to present it.

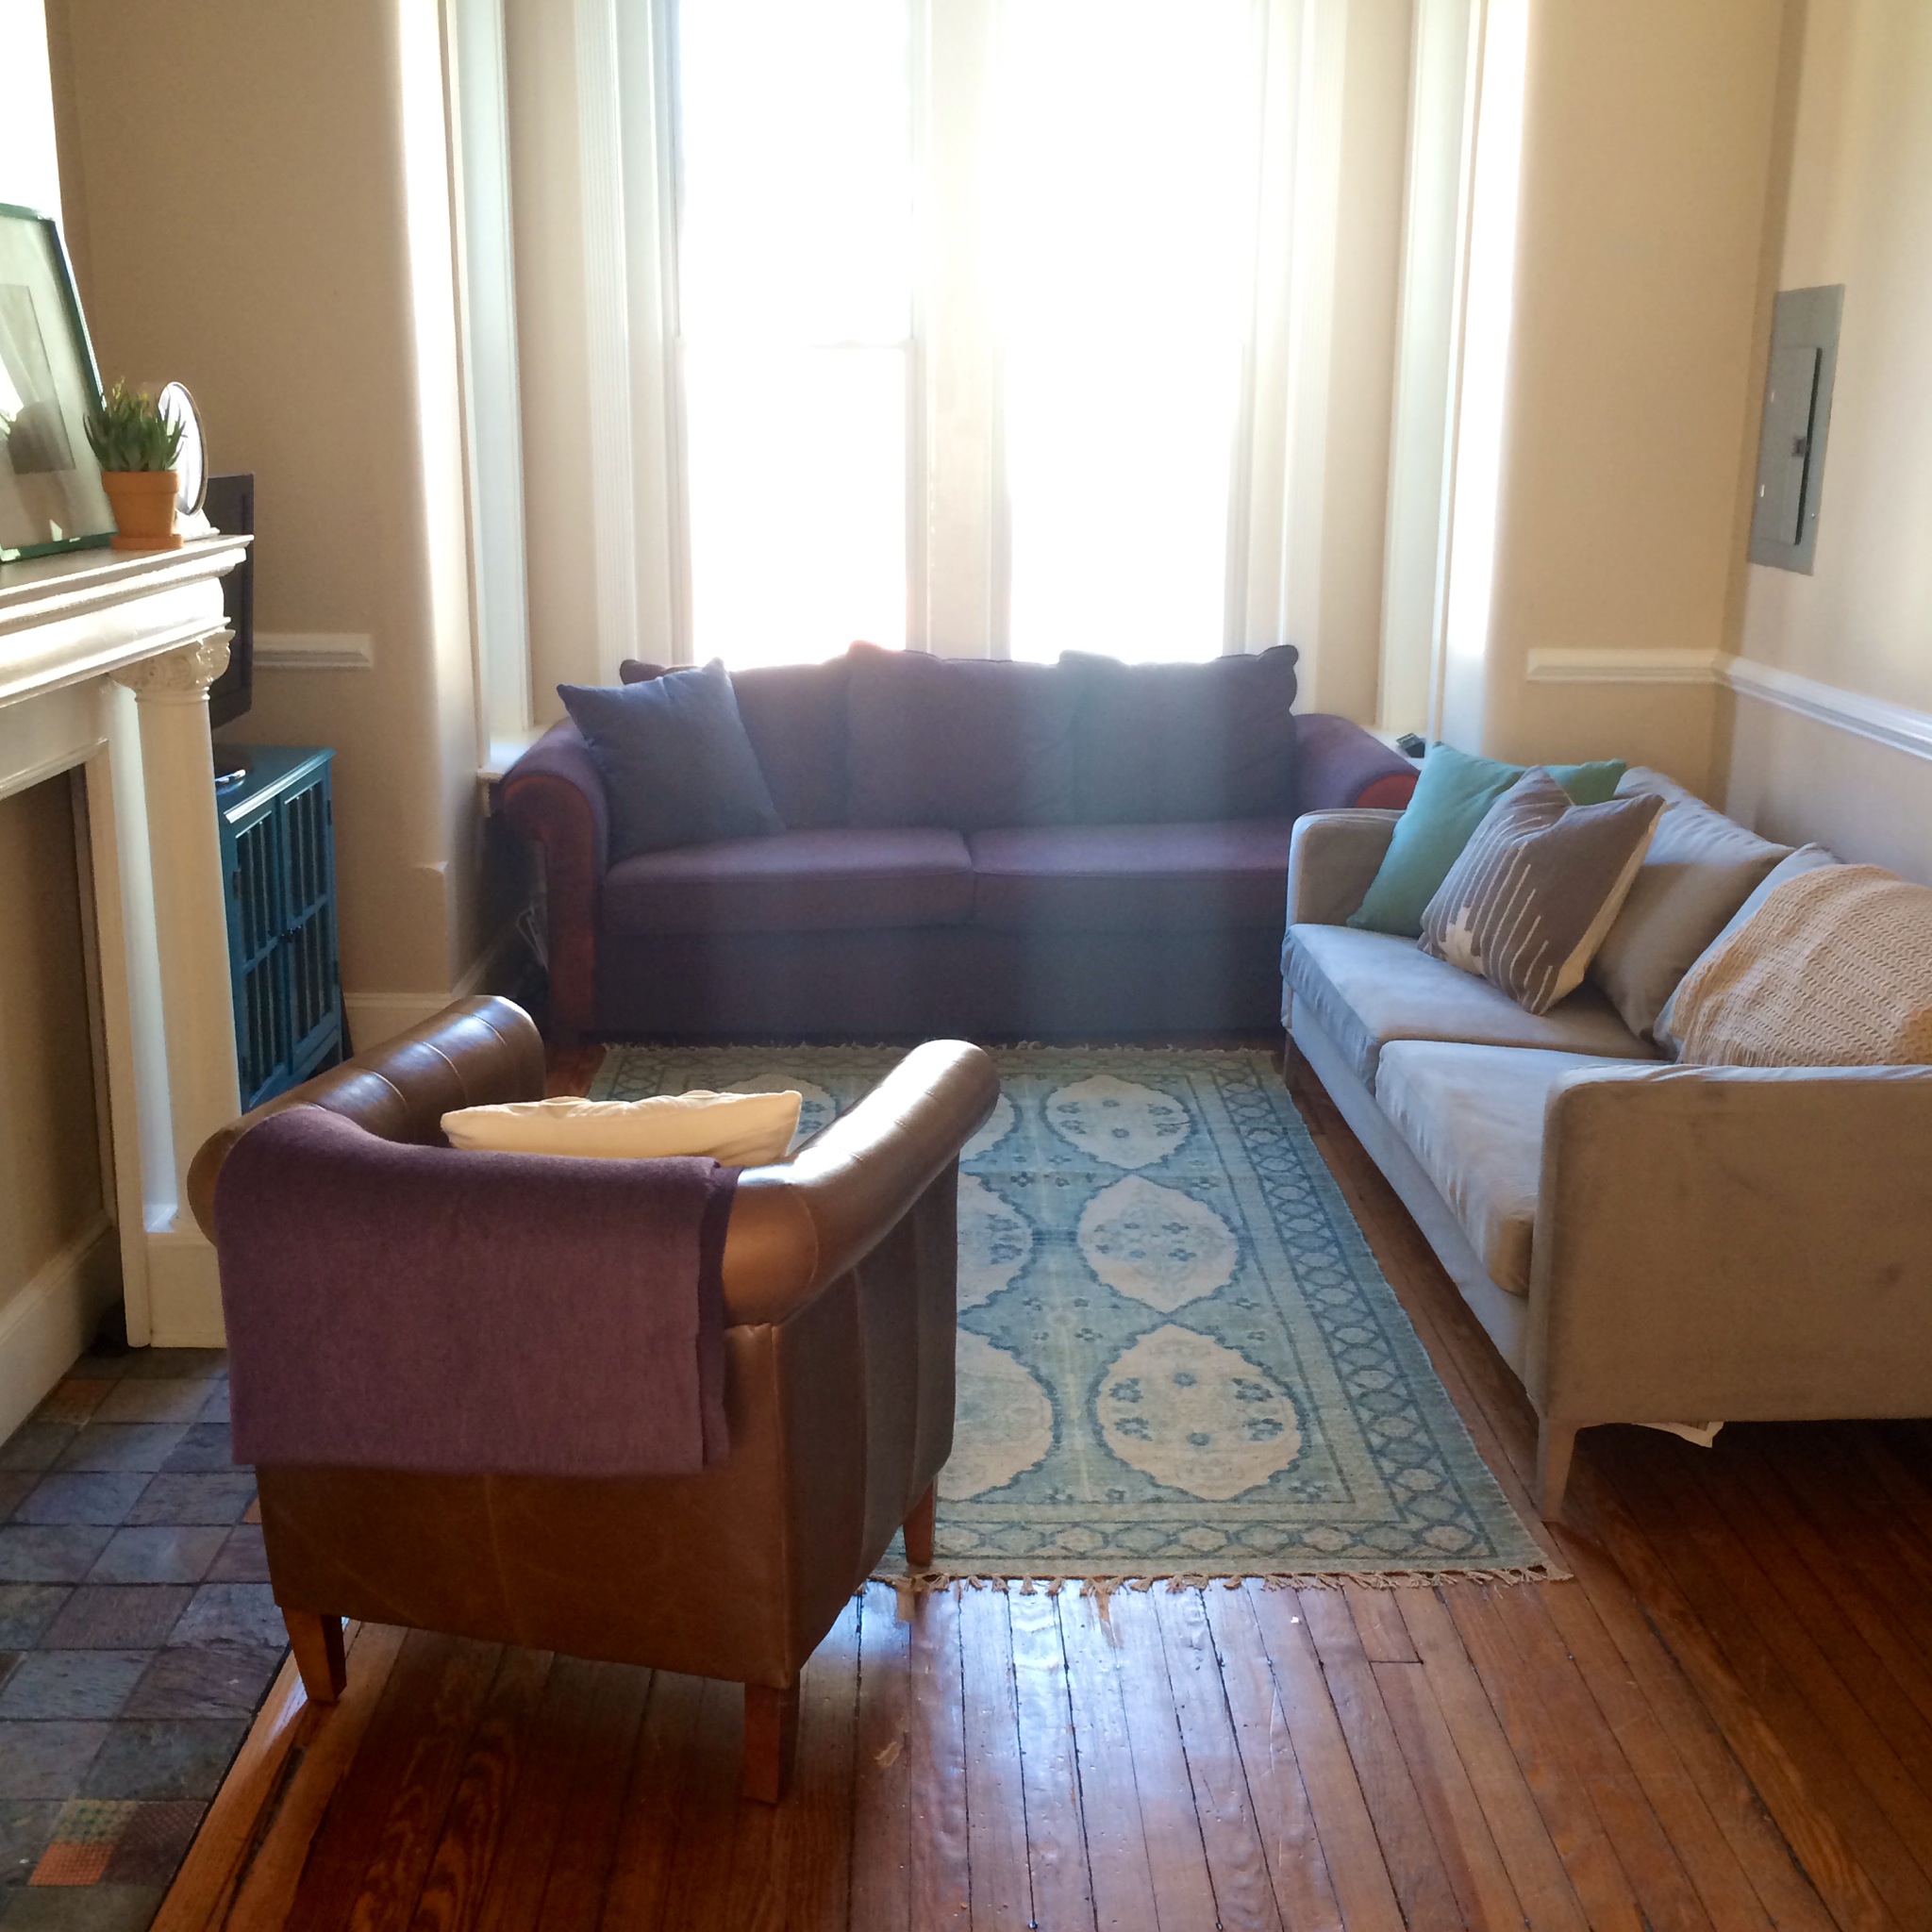
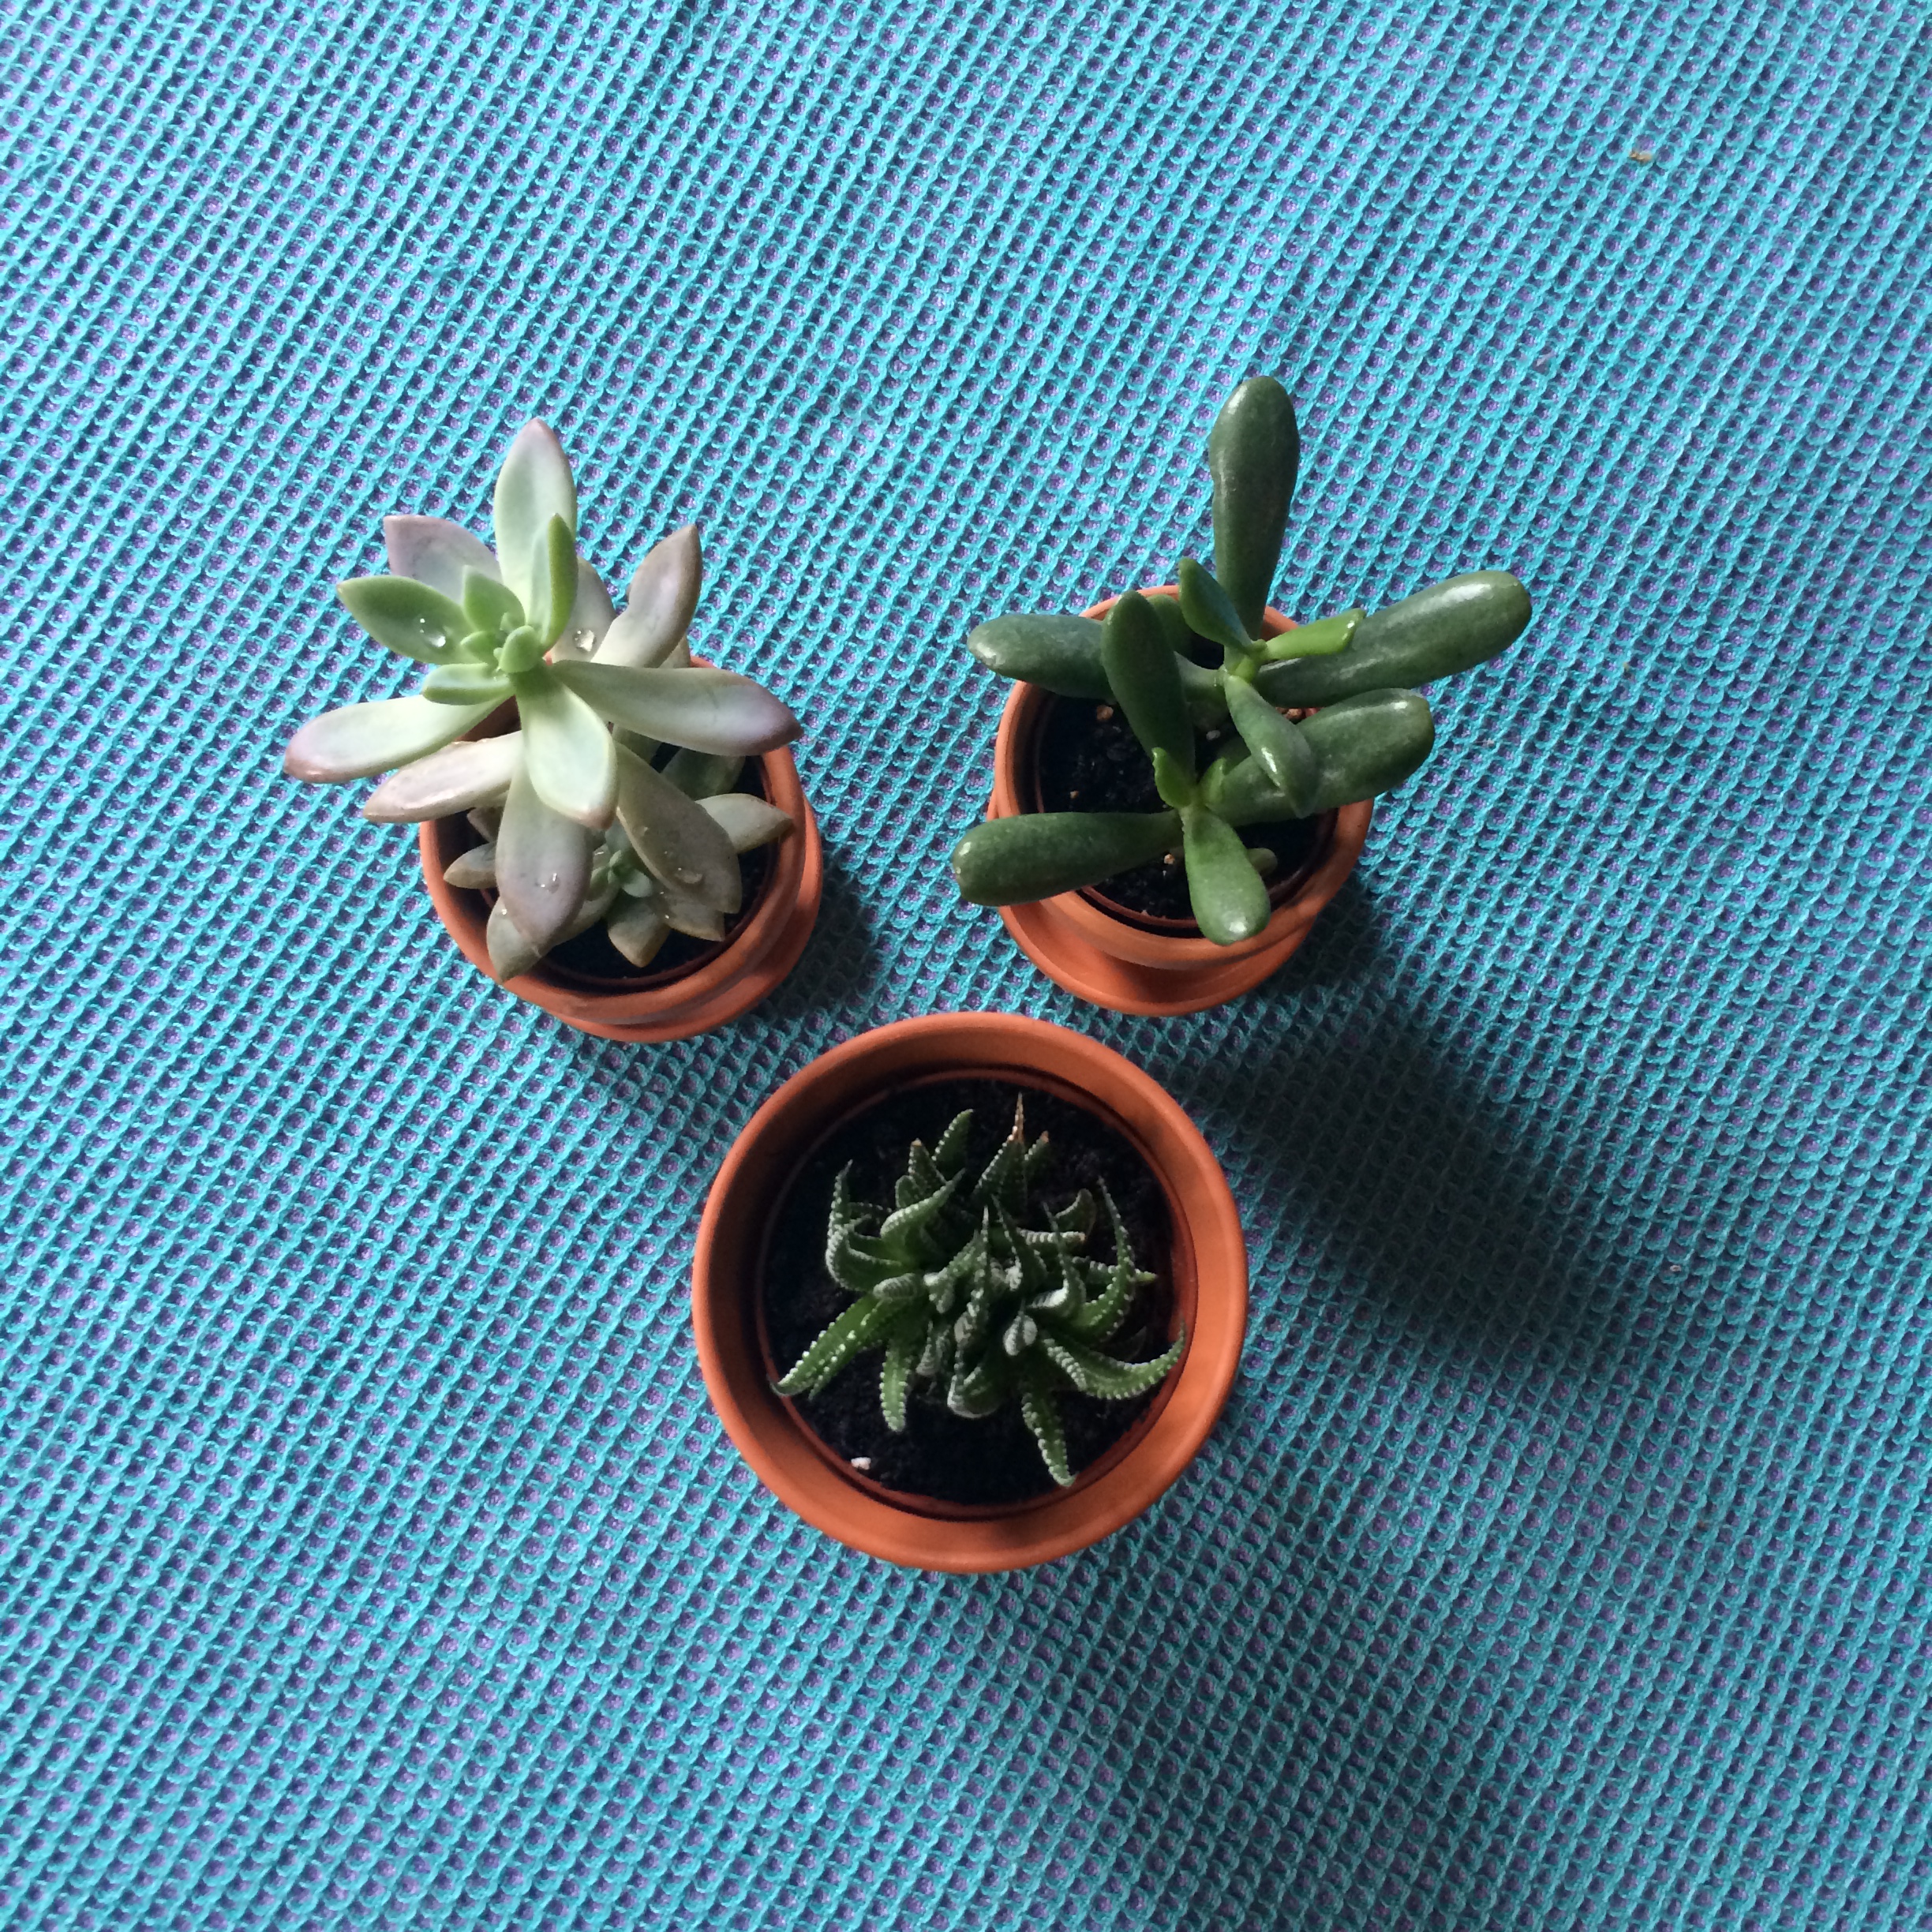
While we didn’t get a before pic (of course!), the space felt a little backwards – their large dining table was in front of the windows, and the sofa and red chaise were spread out. Because of the office upstairs, it was important that we make her living room feel private and spacious, and utilize the sunlight to the best of our ability. So we rearranged a bit. With a $500 budget (we only spent $450!), we went to Target and bought a couple basics — a foot rest, a couple lamps, a side table, an entertainment center (actually, the same one we used in Jenna’s space), light bulbs, and a hammer and nails. We also went to the nearby hardware store and nursery and bought — you know it — succulents! And some cute, eclectic pots. Check out what we did. A quick revamp, space changer, and now it totally feels personal, private, bright, and uses the space perfectly!

photo 4

photo 3

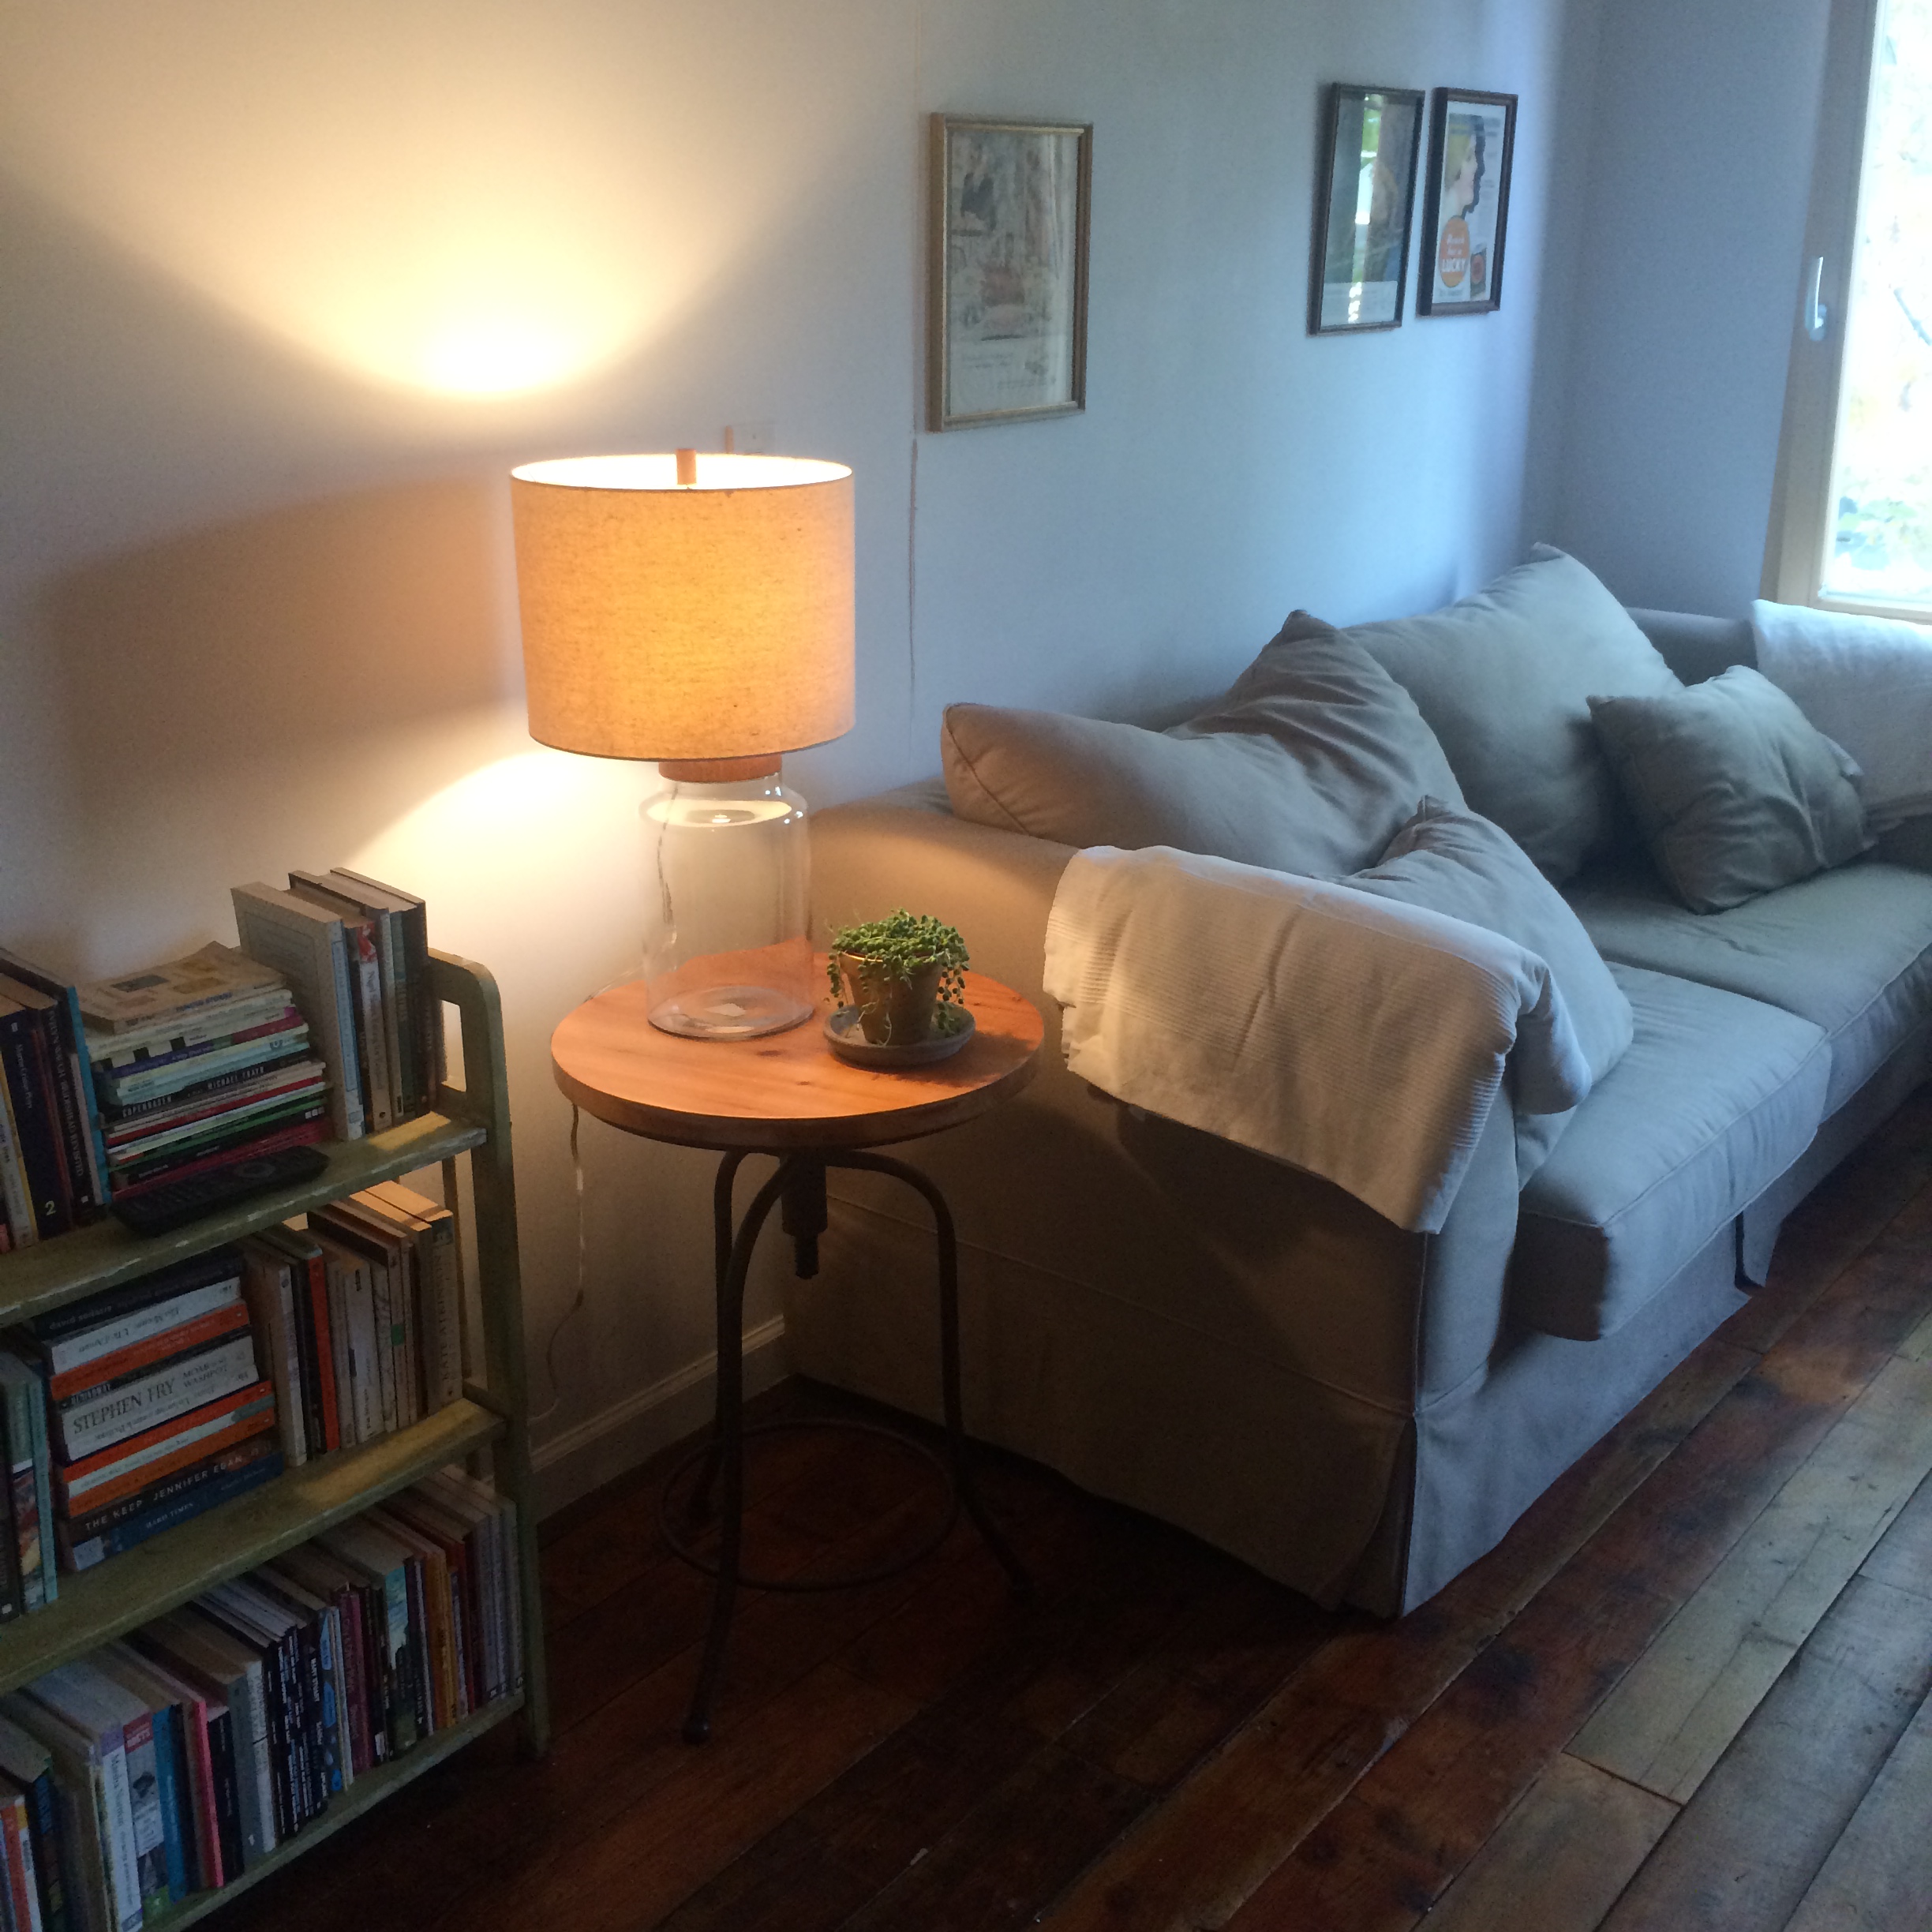
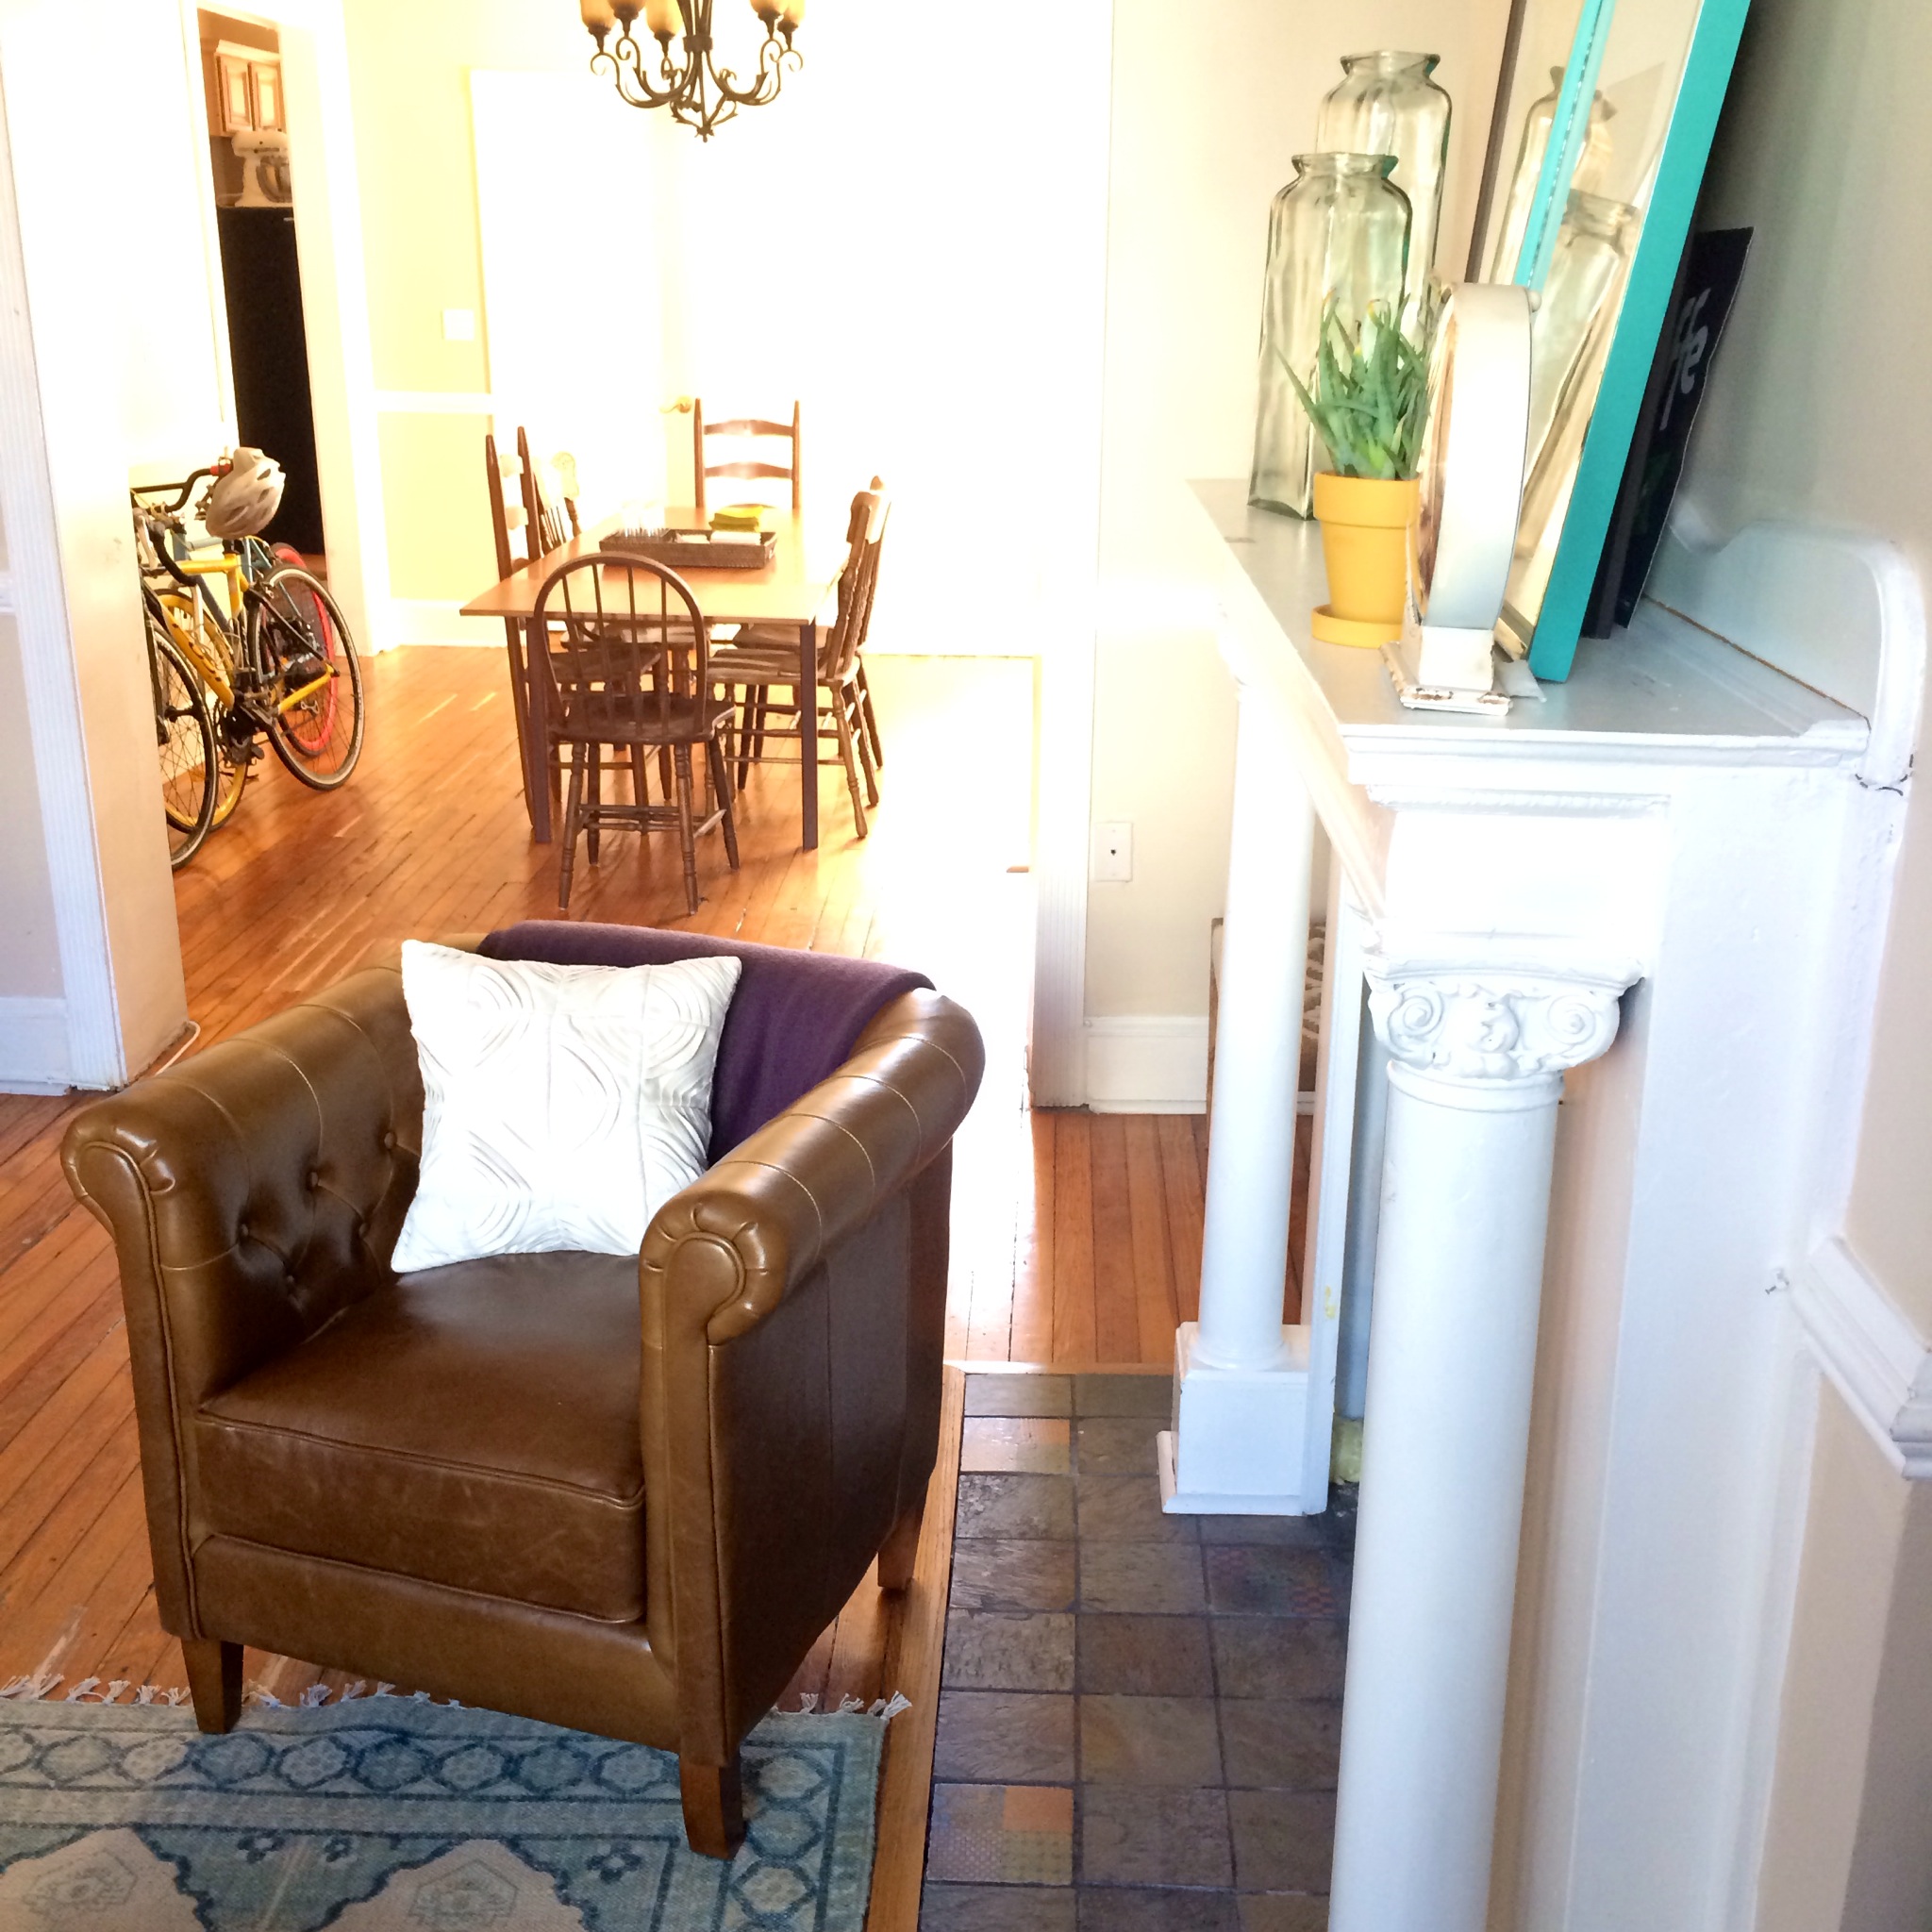
Can  you BELIEVE that side table is from Target? What a deal, and it’s quite good quality for the price we paid! I personally like that the top moves up and down, which made matching it to fit the sofa height quite easy. Same with the lamp — great lamp, neutral but authentic feeling. For those of us that don’t have a massive budget, Target is SO great, especially their Threshold brand.

photo 1-1

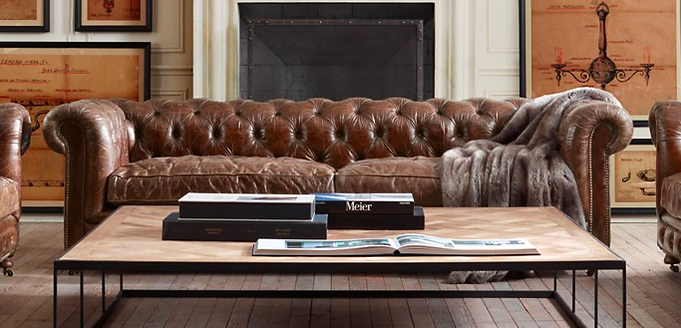
Mathilde had this great large wood coffee table, and topped it with a bright and cheerful teal cloth. It was a perfect pop of color, and I loved the square shape of the table… breaks up the monotony of everything being rectangular in a space.

photo 1

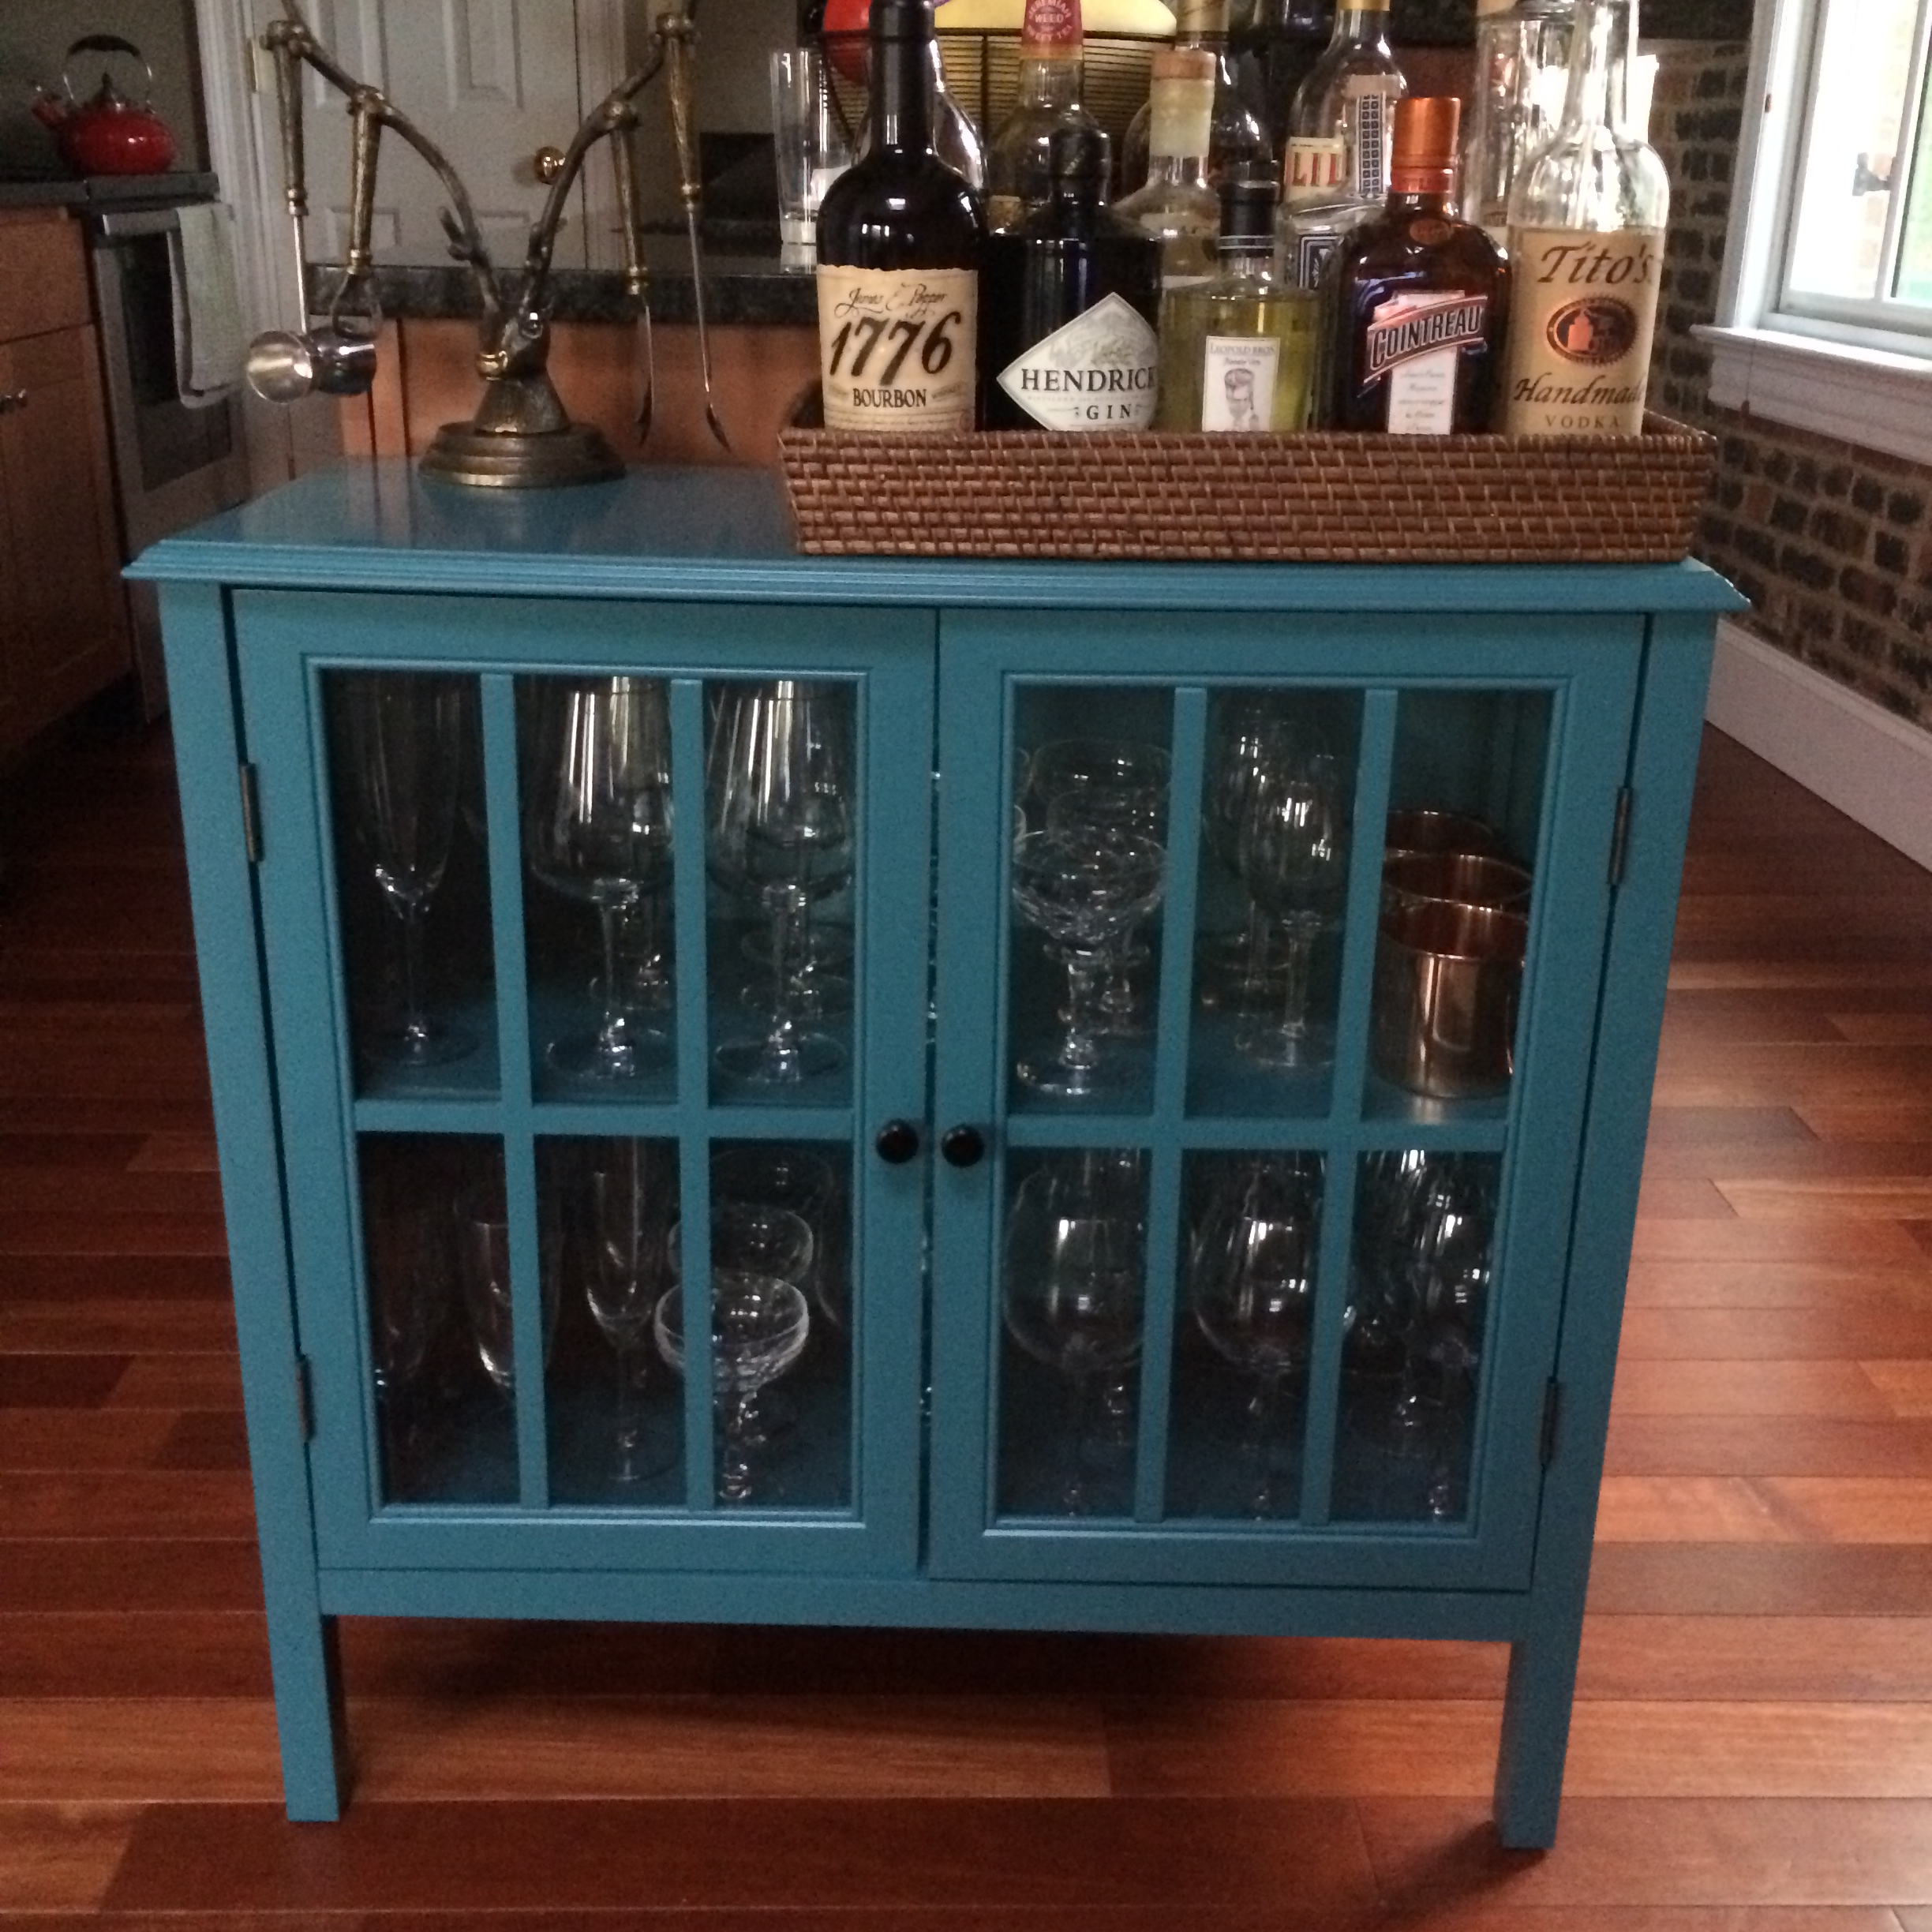
And how great is this buffet/book shelf? We rearranged the books and photos, and tidied it up. Doing this changed the piece from a tool that organized books into a piece of decor — that’s high functioning.

photo 5-1

photo

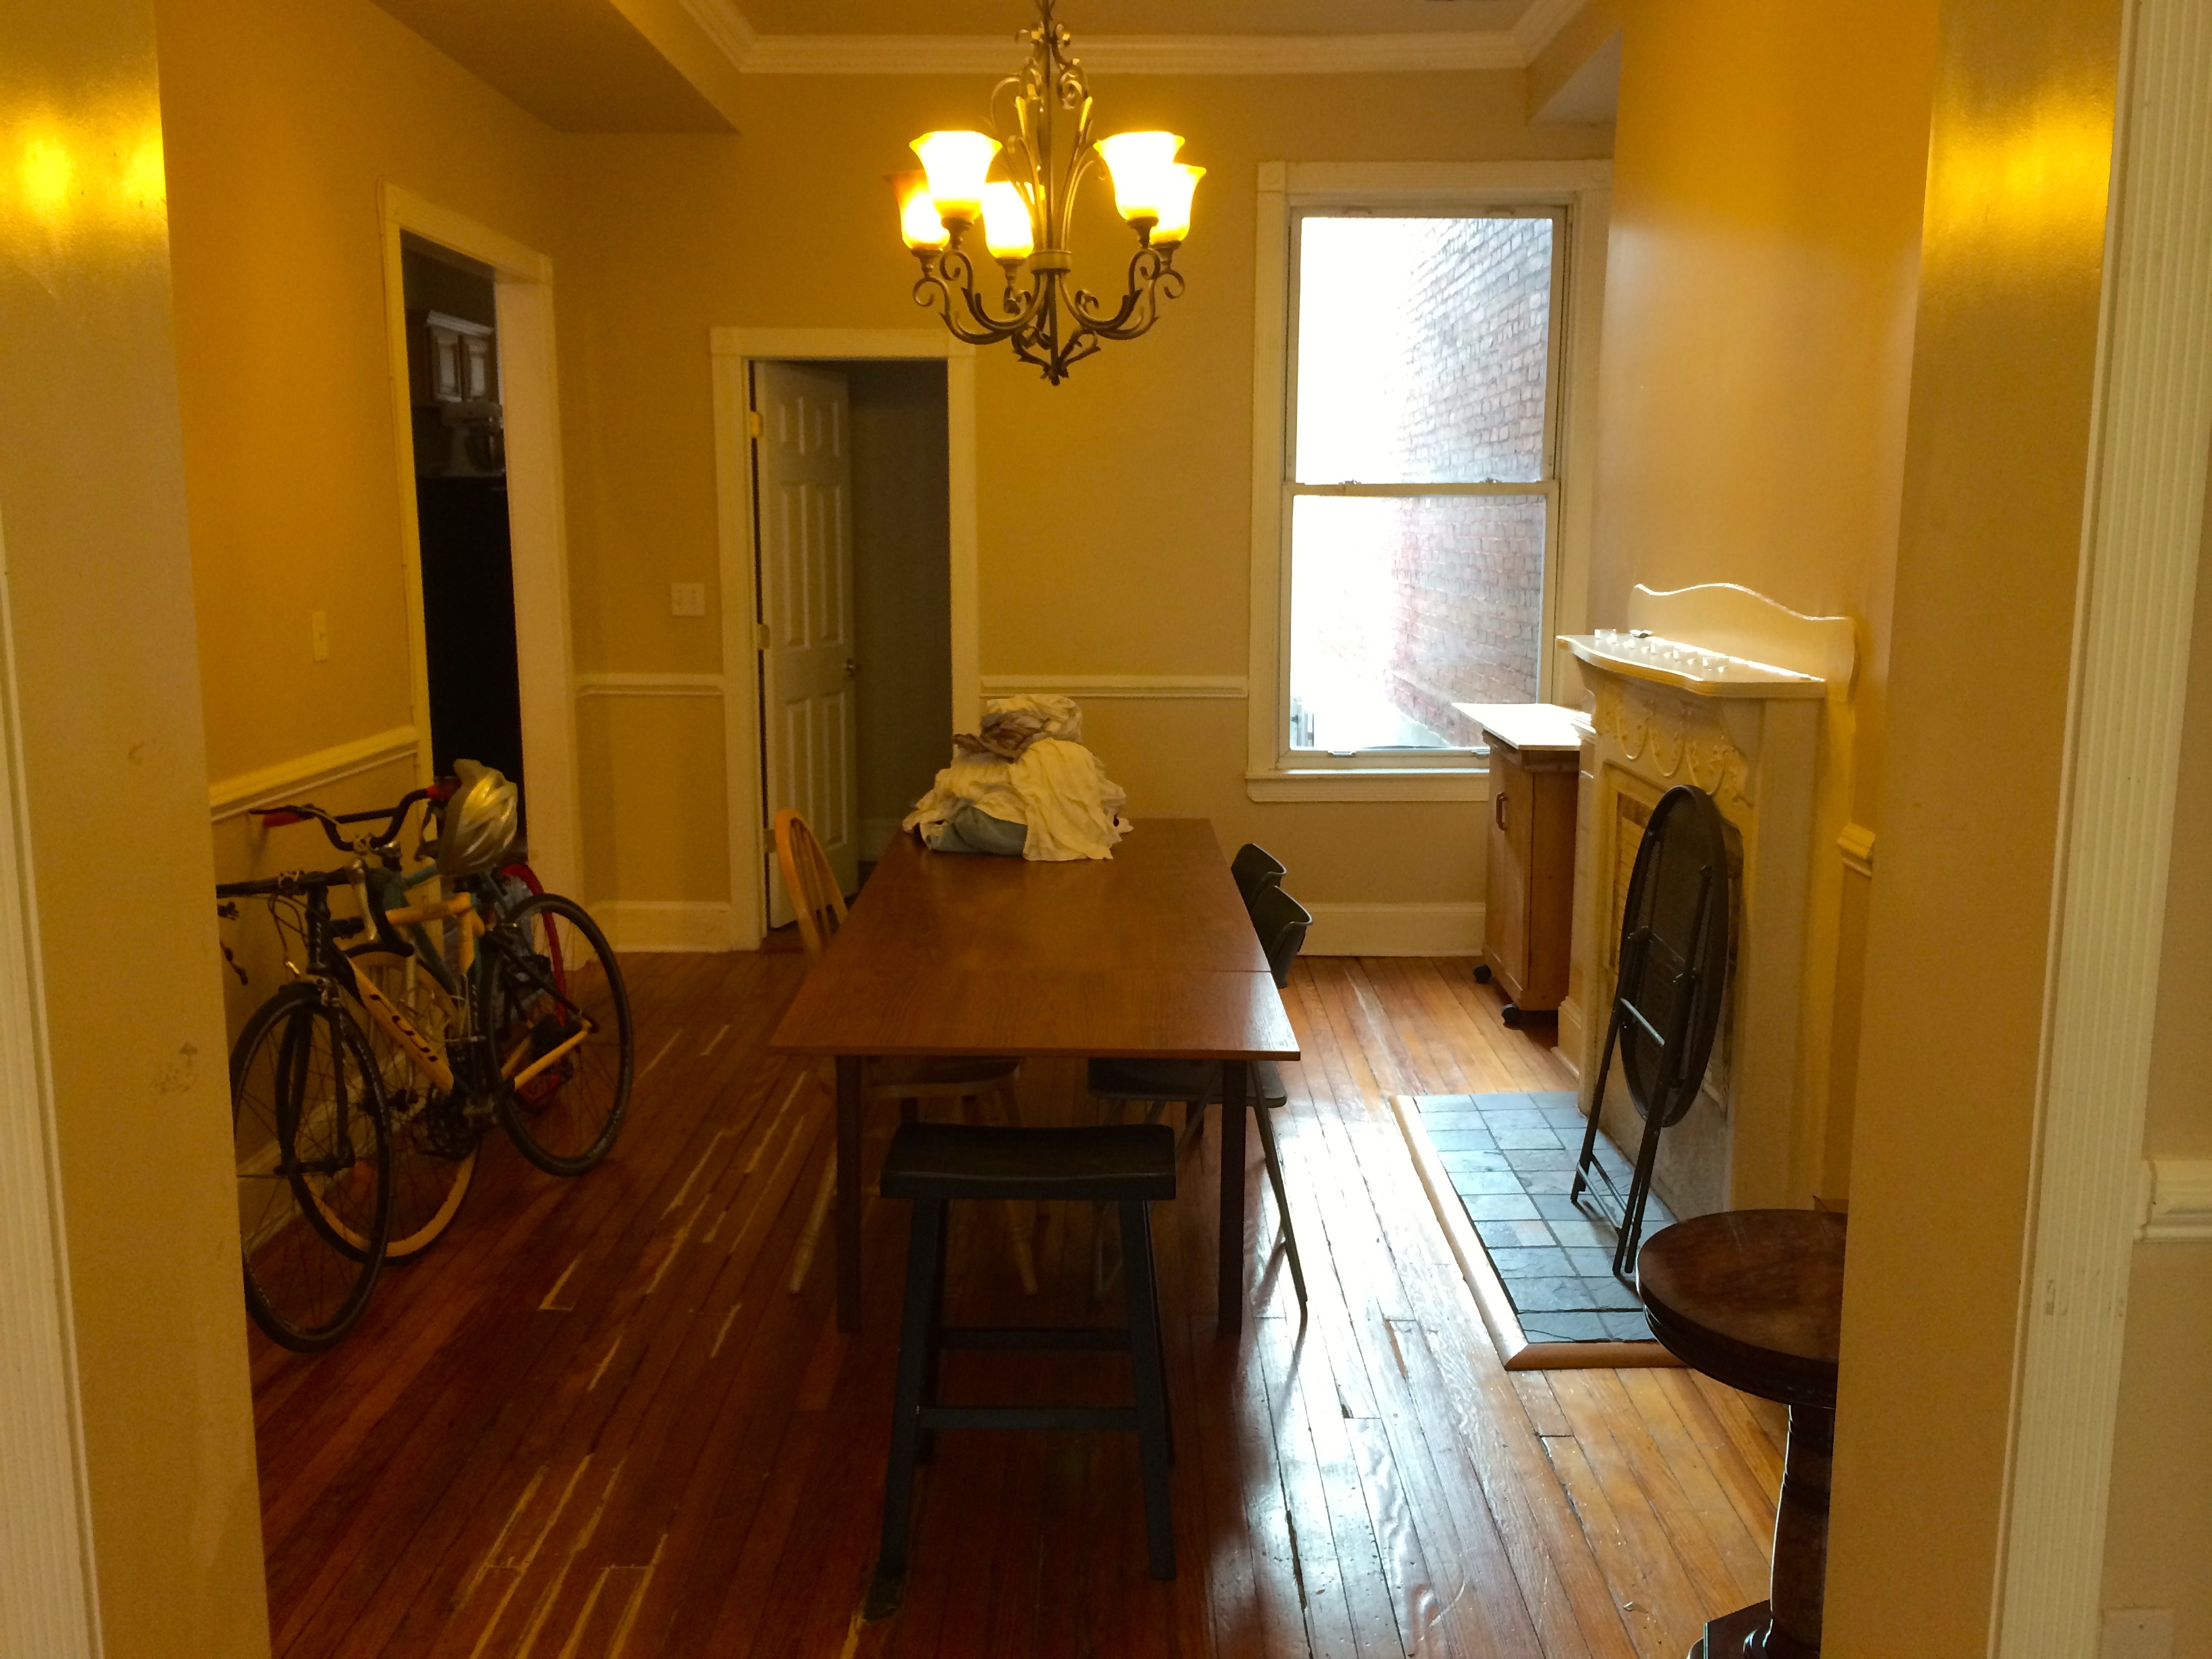
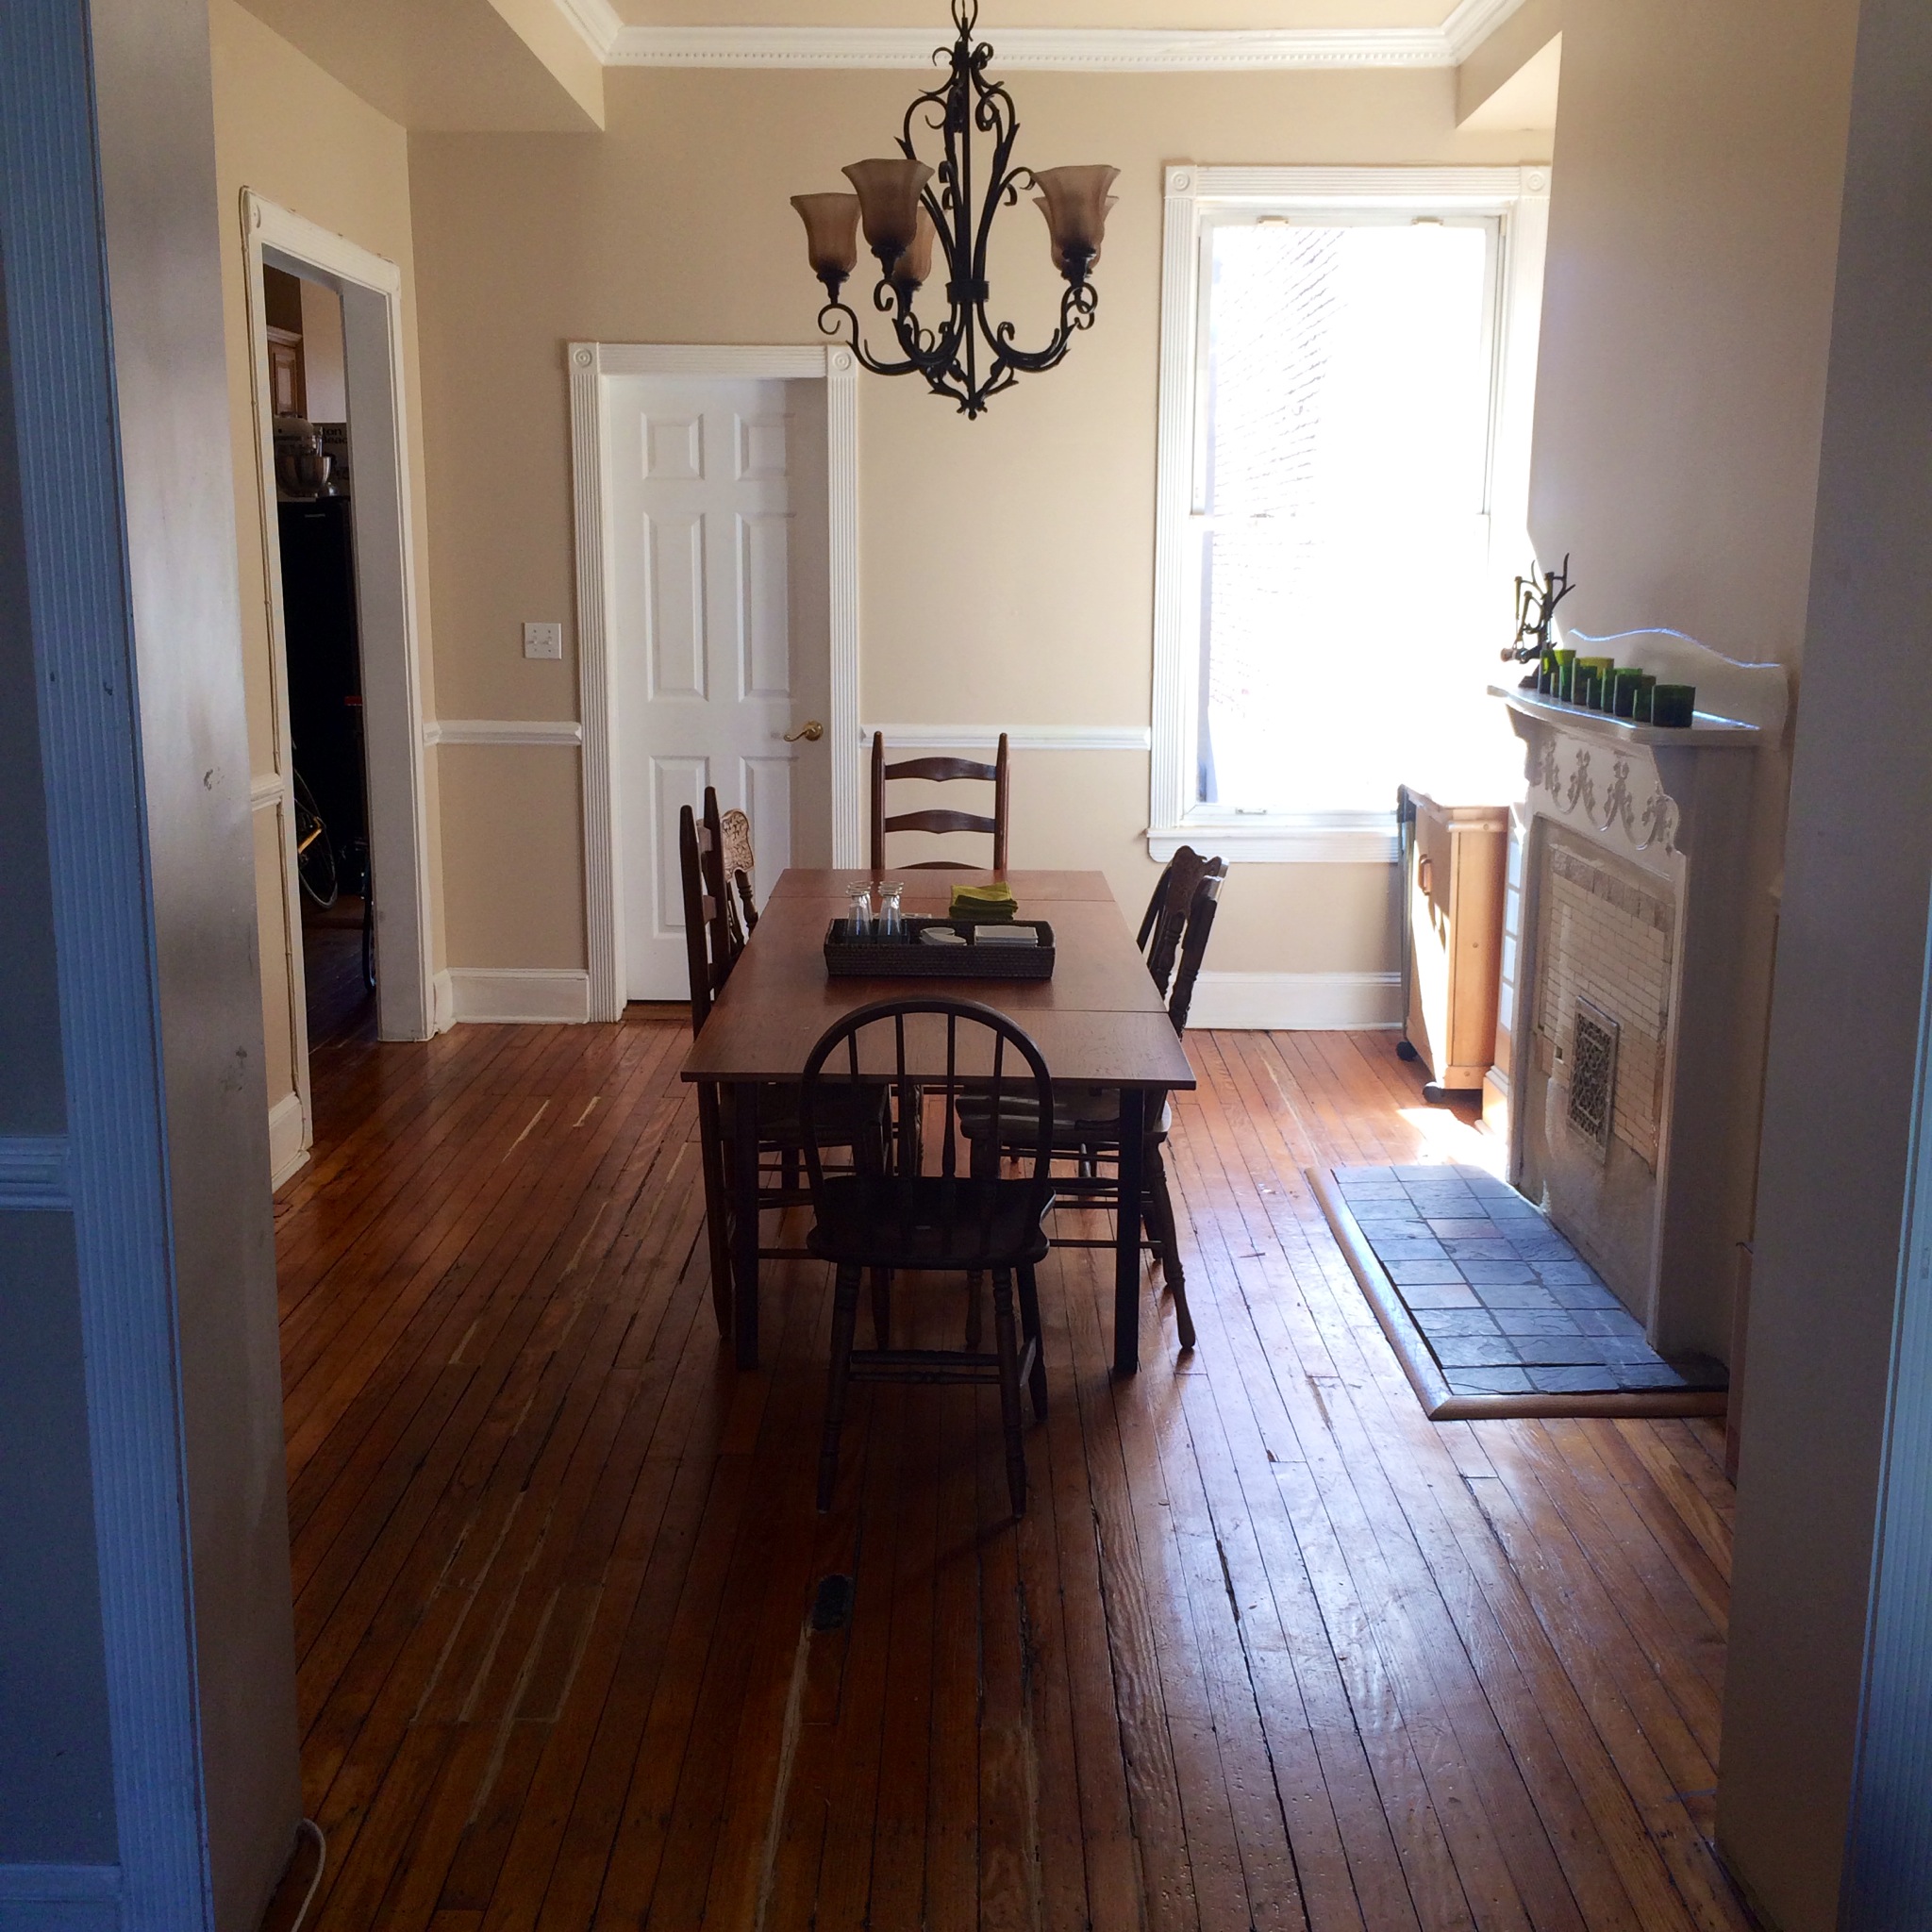
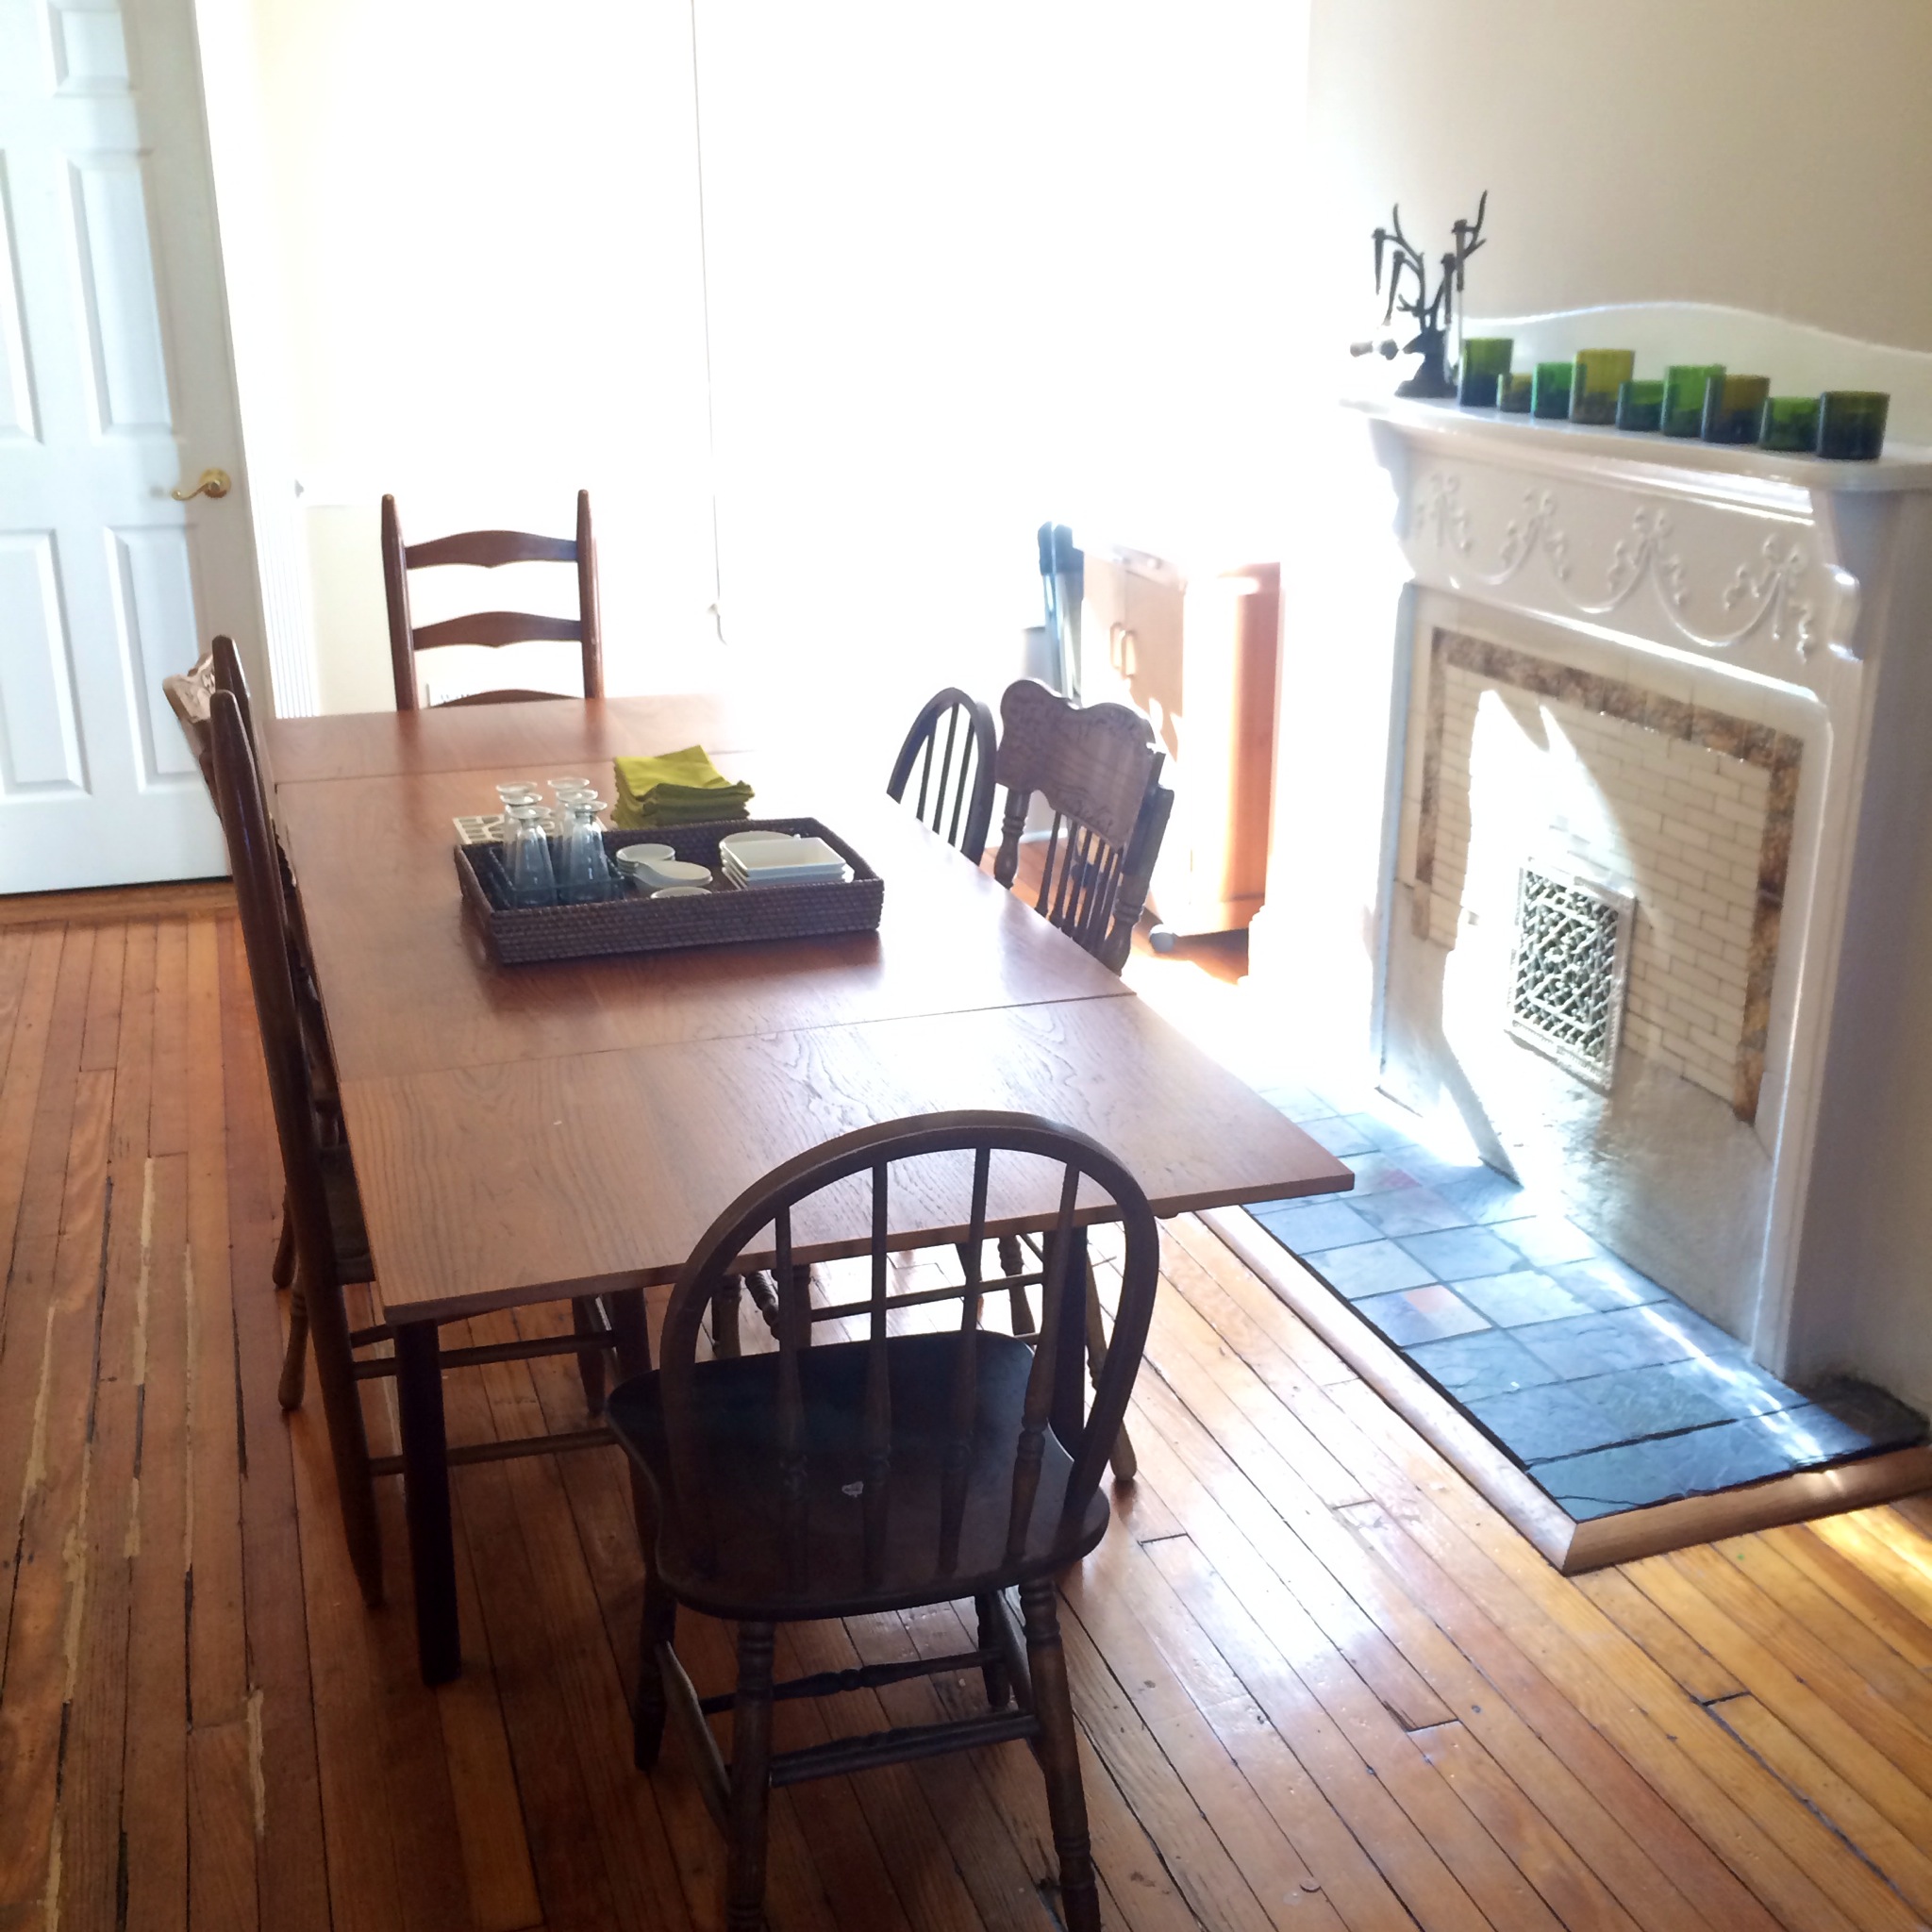
For next steps, we’re looking for a neutral, perhaps lightly patterned, rug. We think that’ll pull it all together.  In addition, we’re working on the dining space (not shown), and a bar station Mathilde has envisioned. Until then!

how to fix up a new, old find (and remove the rust!)

Earlier this week I was walking to get my laundry, and happened across this retro, tiny, “little red dinette set.” It was made sometime around the late 40’s, early 50’s we’re guessing. On average, they can cost up to several hundred dollars, but this one was being sold for $150. And while a Johnny Rockets theme wasn’t ever what I thought would look good in our apartment — think boho, vintage, Anthro-feel, it really spoke to me. There is something really unique about the orangey-red, aluminum,  and grey seats. Plus, the size was perfect as we don’t have too much space for a dining table. (Also, ugh, I hate snow.)

photoAfter walking back and forth like three times, I knew I would miss out as it were to likely be purchased soon. The antique shop selling it had just got it in earlier that day, so we went for it. There was rust and dirt all over it, but I figured I’d clean it up some how.

::insert complaint about walking it six blocks and up three flights of stairs::

I called my mom for advice on how to clean it. She quickly knew the perfect trick, going back to her motorcycle days (Ha!) And based on my last post, she said I already had everything I needed to clean it up.

What you need:

— Steel Wool! Yup, the same wool I used to stick in the  mouse holes

— Aluminum foil

photo 1-1


See what we needed to clean:

photo 2photo 3


photo 5


It’s pretty gross, right? Before you start, make sure you are working on a surface you can easily clean — the wool particles and excess rust will get everywhere.

So first, wipe it all down and clean it as best you can. I prefer a natural cleaning product. Then, you’ll start to scrub down all the rust with the steel wool. You’ll quickly see a difference, the rust scrubs off quite easily. But note: be careful because the metal fibers in the wool will hurt your hands!

The side on the left was scrubbed with the steel wool:

photo 3-1


Next, use the shiny side of the aluminum foil, and scrub once again. The foil will make the metal shine! (Notice which part was cleaned with steel wool and foil?)

photo 2-1


Then, wipe it all down again with a cleaning agent. Use a mild one to ensure the shine keeps it’s pop. You may also want to use a little hand vac to suck up all the rust particles that fell off. Now, do the whole thing! This actually takes quite a bit of time, especially because of all the nooks and crannies. Remember to clean up even the little parts, like the screws and upholstery tacks. Take your time, and the results will amaze you.

Whoop!

photo 1-2


To curve that ‘diner’ feel, I added a teal blue platter (from Ikea!) with a couple succulents, and made it feel like ours. Now, for a dinner party!

photo 4-2


photo 5-2


Ew Mice. (and how to prevent them)

We just moved apartments! Again. Going from the Finance District to Carroll Gardens in Brooklyn, you quickly learn to transition from elevators, doormen, salted streets, and doorbells. A brand new building to one built in 1890. We now have character and charm. But word on the street is, we may also have mice.

I’m not a big fan of mice. (no, really?!) While often in old buildings, they can’t be helped, you can still try hardest to ensure you don’t see their cute (and bacteria infested) faces.

So besides cleaning, keeping food in the refrigerator and out of the pantry, cleaning dirty dishes, you can also make sure all those little holes – between the floor and the walls, under the stove, in the corners – are filled up and cleaned up! If you didn’t know you had them, start looking around, and you’ll be surprised how many there are!

Here’s what you need.

– Steel wool. This is (apparently) the only thing mice can’t chew through. Ew. I researched, and the one pictured below is the best, most durable.

– A screw driver or knife or scissors to use to squish the steel wool into said holes

– Silicone caulking. If you need help with where to find this, ask someone at Ace Hardware, they’ll know which one you want. It’s silicone and water based.

– A caulking gun. You don’t need a fancy one. The $7 one is fine.

– A spatula. Like the one you would use the cover holes from old nails.

photo 2


First, you’ll want to make sure the holes and edges between the wall and floor are clean, dust free, and dry. You’ll just make a dirty mess if you skip this part, so don’t forget!

Then, you’ll want to stuff the steel wool into the holes. It can be sharp, it can cut through yoga pants (don’t learn that the hard way), and it can cause more of a mess. So use sharp scissors, or pull it slowly using your hands. Next, you’ll use the screw driver to help push the wool into the holes.

photo 3


Do you see the steel wool in both holes? You may find that the hole is actually larger than you thought. I know, this is terrifying. Keep adding steel wool ’til you no longer can. Then, and I mean technically you don’t have to do this, because  mice can’t get through the wool, but to make it visually attractive, and for peace of mind, you can then add the caulking, and cover up the holes. {insert caulking joke here]

photo 4


See how it kinda just squiggles out? You can use either your finger (since it’s water based) or a spatula (this is less of a mess), to smooth out the caulking gel and finish.

photo 5


It’s not perfect. But holler! no more mice. (let’s hope) In addition, even if the hole is so small that you can’t fit any steel wool into the crack, you can still using the caulking gun to seal the space between the wall and the floor. You may even enjoy this nasty little project. It’s quite satisfying! (just make sure to smooth it all out!)

photo 2-1


So keep your kitchen clean, fill in those holes, and you’re set. And please don’t use those inhumane traps – live or dead ones – because seriously, what are you then gonna do with a mouse?


Hand Stitched Pillows

While traveling this past April and May, we made it to Kampala, Uganda. The main attraction was of course the mountain gorillas — absolutely amazing, you must go see them before they sadly become extinct. The second attraction, ok besides the chimps, was the fabric. A lot of the fabric is made in Uganda, and other pieces come from Nigeria. Our friends in Nairobi say that Uganda has the most gorgeous fabric in all of Africa. Can’t say I disagree. $30 later, I’m in heaven!

Recently we purchased the Karlstad, L-shaped sofa from Ikea, in isunda gray. It can be very big and plain, and I’ve been struggling to find pillows that are lounge-y, comfortable, beautiful, man-friendly, and inexpensive to go with it. So I thought making my own with purchased fabric would be the best bet. I purchased a couple various sized cushions from Ikea – like $7-$15 per pillow, that you can stuff in once stitched. If you’re like me and don’t have a sewing machine, these can be exceptionally time consuming… however…they’re SUPER easy to make, and Orange is the New Black Season Two was just released, so my guess is you have some time to kill.

For your encouragement, a finished photo:

photo 3-2

The black and white checkered one is from Ikea (actually went quite nicely with them!). The green and aqua are the fabric purchases I made in Kampala.

What You’ll Need:

  1. Scissors
  2. Measuring tape
  3. Fabric – really depends on the size you want your pillows to be. For the larger green pillow, I cut two pieces of 23X23 inches.
  4. The pillow or stuffing you want to use for the inside — Maybe you have an old pillow that you hate? Recycle it, and add new fabric!
  5. Needles and thread — I bought a basic pack of thread that offered a bunch of colors, and it included a couple needles ($5) I’d recommend a large needle if you can, they’re a bit easier to work with.
  6. Sewing pins ($3)
  7. Iron
  8. Patience, white wine, whatever gets you through it
  9. Scotch Guard (if you want to spray onto your pillows to prevent stains)

So first, cut two sheets of the size of fabric you need. I recommend cutting a bit smaller than the size that you measure when the pillow is fully fluffed. You will want a tight cover, and it’s ok to stuff the pillow in … will make the final fit tight, and create a better shape.

photo 2


Once you have both sheets, turn them inside out — That way, your stitches are on the inside, and make for a cleaner finish. You’ll sew one side at a time. To keep your fabric lined up, and to make sure you’re stitching in a straight line, use your sewing pins. Roughly half an inch from the bottom of each side of fabric:

photo 3

After lining up your pins, use the length of the fabric to determine how much thread you’ll use. To make sure you don’t run out, and have enough to tie at the end, add about six more inches. Then, double over your thread. Stitching two pieces of thread at one time will ensure it keeps sturdy. Starting at one end, tie through your thread, and begin stitching in and out. Try to keep your stitches as close as possible — this will keep the pillow from ripping.

Do this for three of the sides. Remember, double your thread! (For real, it helps.)

Then, put the fabric the right way out, and you’ll see your stitches look great

photo 5


After turning the fabric right-side out, get out your iron, and iron out any wrinkles that may have developed… you’ll want to make sure to do this before stuffing your pillow, to ensure that it’s smooth and wrinkle free when finished. Then, for the side that has not been sewed, fold each piece of fabric about 1/2 an inch in — so that the cut line is hidden from the outside. This will be necessary when stitching the final side, and will make sure the pillow looks finished. (Insert photo, oops, my bad).

Next, stuff in your pillow or stuffing (insert 2nd photo I did not take).

For the final side, you’ll use pins once again to keep the fabric together, and to create a line you may follow. Double your thread, and stitch from side to side once more — this is the one side you’ll definitely see stitched, so take your time, and try to create a straight line. Again, make sure your stitches are small to keep the pillow from ripping.

photo 3-1When finished, shake our your pillow, let the stuffing move around a bit, and ta-da! Here’s the final look. I’m pretty sure these pillows would cost you at least $75 in stores like West Elm or Pottery Barn. Now, they may have been machine stitched and therefore more sturdy, but how fun is that?

photo 5-1


So many materials.

I visited the Material ConneXion library this afternoon. I’ve decided to take on the certificate program at Parsons, and one of the courses they offer is Showrooms — where basically, you have the opportunity to visit amazing showrooms throughout New York: Large ones, historical ones, hipster-Williamsburghy-ones, you name it. Today we visited the Material ConneXion library located in Mid-town. This place is INSANE. Basically they are a data collection (the world’s largest collection!) of every known material that’s out there — ceramic, fiber, metals, cement, processes, and polymers. Their collection is roughly 7500, and at any given time they display 2500 of them. Unfortunately you have to have a membership to the museum (which is crazy expensive), but as a student at Parsons you can go for free. Whoop! Check out some of these killer materials I captured. It’s a pretty inspiring and an interesting space. Plus: you’re allowed to touch everything.

photo 5-1Recycled skateboards – could be used for a wide variety of things, including rad wall coverings.

photo 3-1

This may be my favorite: handwoven wall coverings of recycled maps. Exceptionally expensive, I mean, it’s HANDWOVEN, but how cool would a bathroom, or wall in your office look with this all over it?

photo 2-1

This is also a natural material — made of cork and woven cotton. It could be used to reupholster a piece of furniture, shoes, clothes, the list is endless.

photo 1-1


So this one is kinda crazy — it’s a wood veneer with leather substrate. It’s flexible and therefore can be used again for many purposes.

photo 5

These. I want a belt made out of each one. Low and hold, it’s all mosaic wood veneer. So, no belt for me, but it could be beautiful trimming, paneling, or framing (so the details read!)

photo 4

I love this one! There’s glitter, there’s cork, there’s layers of paper. It’s really just cool. And it can be from recycled material which is even better.

photo 2

So many mateeeerriaaalllsssss!!!


Jenna’s NEW Place

It’s been a while since my last post. Mostly because I’ve been traveling without a laptop. But even more mostly because I’ve been living out of a suitcase for four months. Just getting back, I’ve officially moved to New York, where my little one bedroom apartment is hiding in a storage unit. More on that soon. In the meantime, my friend Jenna, who’s row house mini-reno I shared with you here (or literally two posts below, oops), has moved! Typical of DC properties and rentals.  No worries though, because she found a sweet two bedroom apartment in a renovated funeral parlor. Creepy, perhaps. But whoever did the redesign left the exposed brick, old brick stains, wooden beams, and molding. I love this person.

After just recently updating her old space, Jenna was a bit bummed to move, but turns out everything we purchased and set up went even better in the new place. Check out her space,  and see how she did. I for one was incredibly impressed.

5

photo 1Brilliant and so rad. The girls turned the TV stand into a glassware cabinet and liquor stand. Looks so great at the end of the bar, and I love the pop of the color surrounding the hues of brown.

4

The girls didn’t actually need to buy anything, either. Jenna had this Ikea bookshelf in her room, and simply turned it into an entertainment center. Love the record display, too.

2

Unfortunately, they had to get rid of the second sofa, but this set up still looks warm, inviting and heaps comfortable. Check out that BEAUTIFUL West Elm coffee table that hadn’t arrived before I left the last time. Also good to see that sofa cover has kept it’s color and shape.

Nice job, Jenna. Love seeing how we can adapt and make our furniture and belongings work wherever we live.

stenciling your floors

Remodelista posted this great piece today. Living in large urban cities, if you’re lucky, you may still have the original flooring that came with your hundred year old brownstone, row house, or apartment. If you’re really really lucky, you either own or have a super who would appreciate hippy stenciling on the wood. Just be careful not to destroy your precious wood floors as they are hard to come by, and linoleum isn’t a good fix, regardless of what your grandma believes. 

If you don’t have the option to try this (like me), it does seem like an interesting idea for an old dinner table. Reclaimed wood and barnyard tables are super in these days, here’s a way to make it your own. Cheers! 

Image


jenna’s space

Screen Shot 2014-01-30 at 2.59.15 PM

A friend of mine moved into a gorgeous row house about a year or two ago, and after a roommate (and furniture!) moved out, she decided it was time to get a few things to furnish and decorate her home. The row house is BEAUTIFUL. Original molding and hardwood floors. Bay windows. A dining room and living space that’s open. Exposed brick. I could keep going…

Her budget was around $1500 for round 1. She wanted to update her sofa, add some small pieces, and make the living area and dining room a bit more communal and warm. Host brunches and groups, and make the place perfect for her and her new roommates.

Here are a few before pics:

photo 3

photo 4

photo 1

photo 2

We upgraded the green Ikea sofa by purchasing a new slipcover online. It’s now a velvet, light grey — Comfortable, neutral, but unique with its texture. We found a great overstuffed leather chair in cognac. A new updated entertainment center in teal blue. We will drill holes in the back to add all the cabled equipment. The rug was on sale at World Market, and the bench was from (ahem) Tar-get! We found a few bric-a-bracs and pillows throughout the adventure, and will continue adding pieces as we find them.

In the dining area, we found six eclectic, wooden chairs at her nearby flea market that will be washed white during round two, but for now, they’re great. The recycled wine glass candle holders were actually made by me from a previous DIY project, and some serving dishes and tea towels for the dining table were found at World Market.

Here’s how it looks

photo 1photo 5 copy 2photo 3 copy

photo 3

photo 4 copy

photo 1 copy

photo 2 copy

photo 5 copy

photo 2 copy 2

photo 1 copy 2

photo 2 copy 3

photo 4 copy 3

photo 5 copy 3

We have a coffee table waiting to be delivered, frames and curtains that need to be hung, chairs that need to be painted… but this is an excellent start and already the space feels warmer, comfortable and cheerful.

Stay tuned for round two.

the great couch debate

Buying the perfect couch or seating for a space can be the most overwhelming decision. Seating is the first thing people typically see when walking into your home, especially in apartment living. It’s where you spend most of your time. You want it to be comfortable, but not sloppy. Available for wine nights, football season, movies, Netflix binges. You want your space to represent you. And to top if off, damn, it’s an expensive decision.

It’s always been my taste to create a nook like seating arrangement. Make it cozy, conversational, and warm. Here are a few couches that I love. Someday, when you and I are both rich and fabulous, we can each buy the exquisite love seats from Restoration Hardware. Until then, keep hoping to find a great original from a flea market.

Screen Shot 2014-01-15 at 10.35.37 AM

This is a $4000 couch. I’ve visited him in several RH stores – a few times more than I’m willing to admit. The Kensington is sexy, authentic, comfortable. Just like Don Draper in your dreams.

Screen Shot 2014-01-15 at 11.17.12 AM

West Elm, you never cease to amaze me. The Crosby is so good. It comes in a few colors, but I have to say, aegean blue is my favorite. The cost is middle/high range ($1500) — think wedding gift, first home piece, raise or bonus splurge, you get the idea. And the craftsmanship is simply lovely — the feet, incredible. The extra pillows, and the texture… Well done, WE.

Screen Shot 2014-01-15 at 10.37.12 AMOh, Urban Outfitters furniture. You’re somewhat affordable, thoughtful about the legs, texture and color. And I like that you make trendy sofa sleepers. However, I fear your craftsmanship sucks. While I’ve not seen this particular piece up close, I have purchased seating from UO in the past, and it’s not the sturdiest. Not necessarily a deal breaker depending on how long one plans to keep said sofa, but with all due respect to your bank account, $600 is a lot of money.

Screen Shot 2014-01-15 at 11.05.16 AMI think this piece is a total winner. World Market Cost Plus is a gem of a store — affordable, good quality, and unique. Particularly, the Wyatt Sectional is a great way to enhance your personal taste. Add funky side tables, a throw, artwork…. It’s got the charm and durability in basics. It’s about $850, but one thing to note about WM; they love a good sale. So never buy unless shipping is free or all furniture is 20% off. My mother actually purchased this piece, and I must say, we all agree it’s great.

Screen Shot 2014-01-15 at 11.12.00 AM