My current space and why I like it.

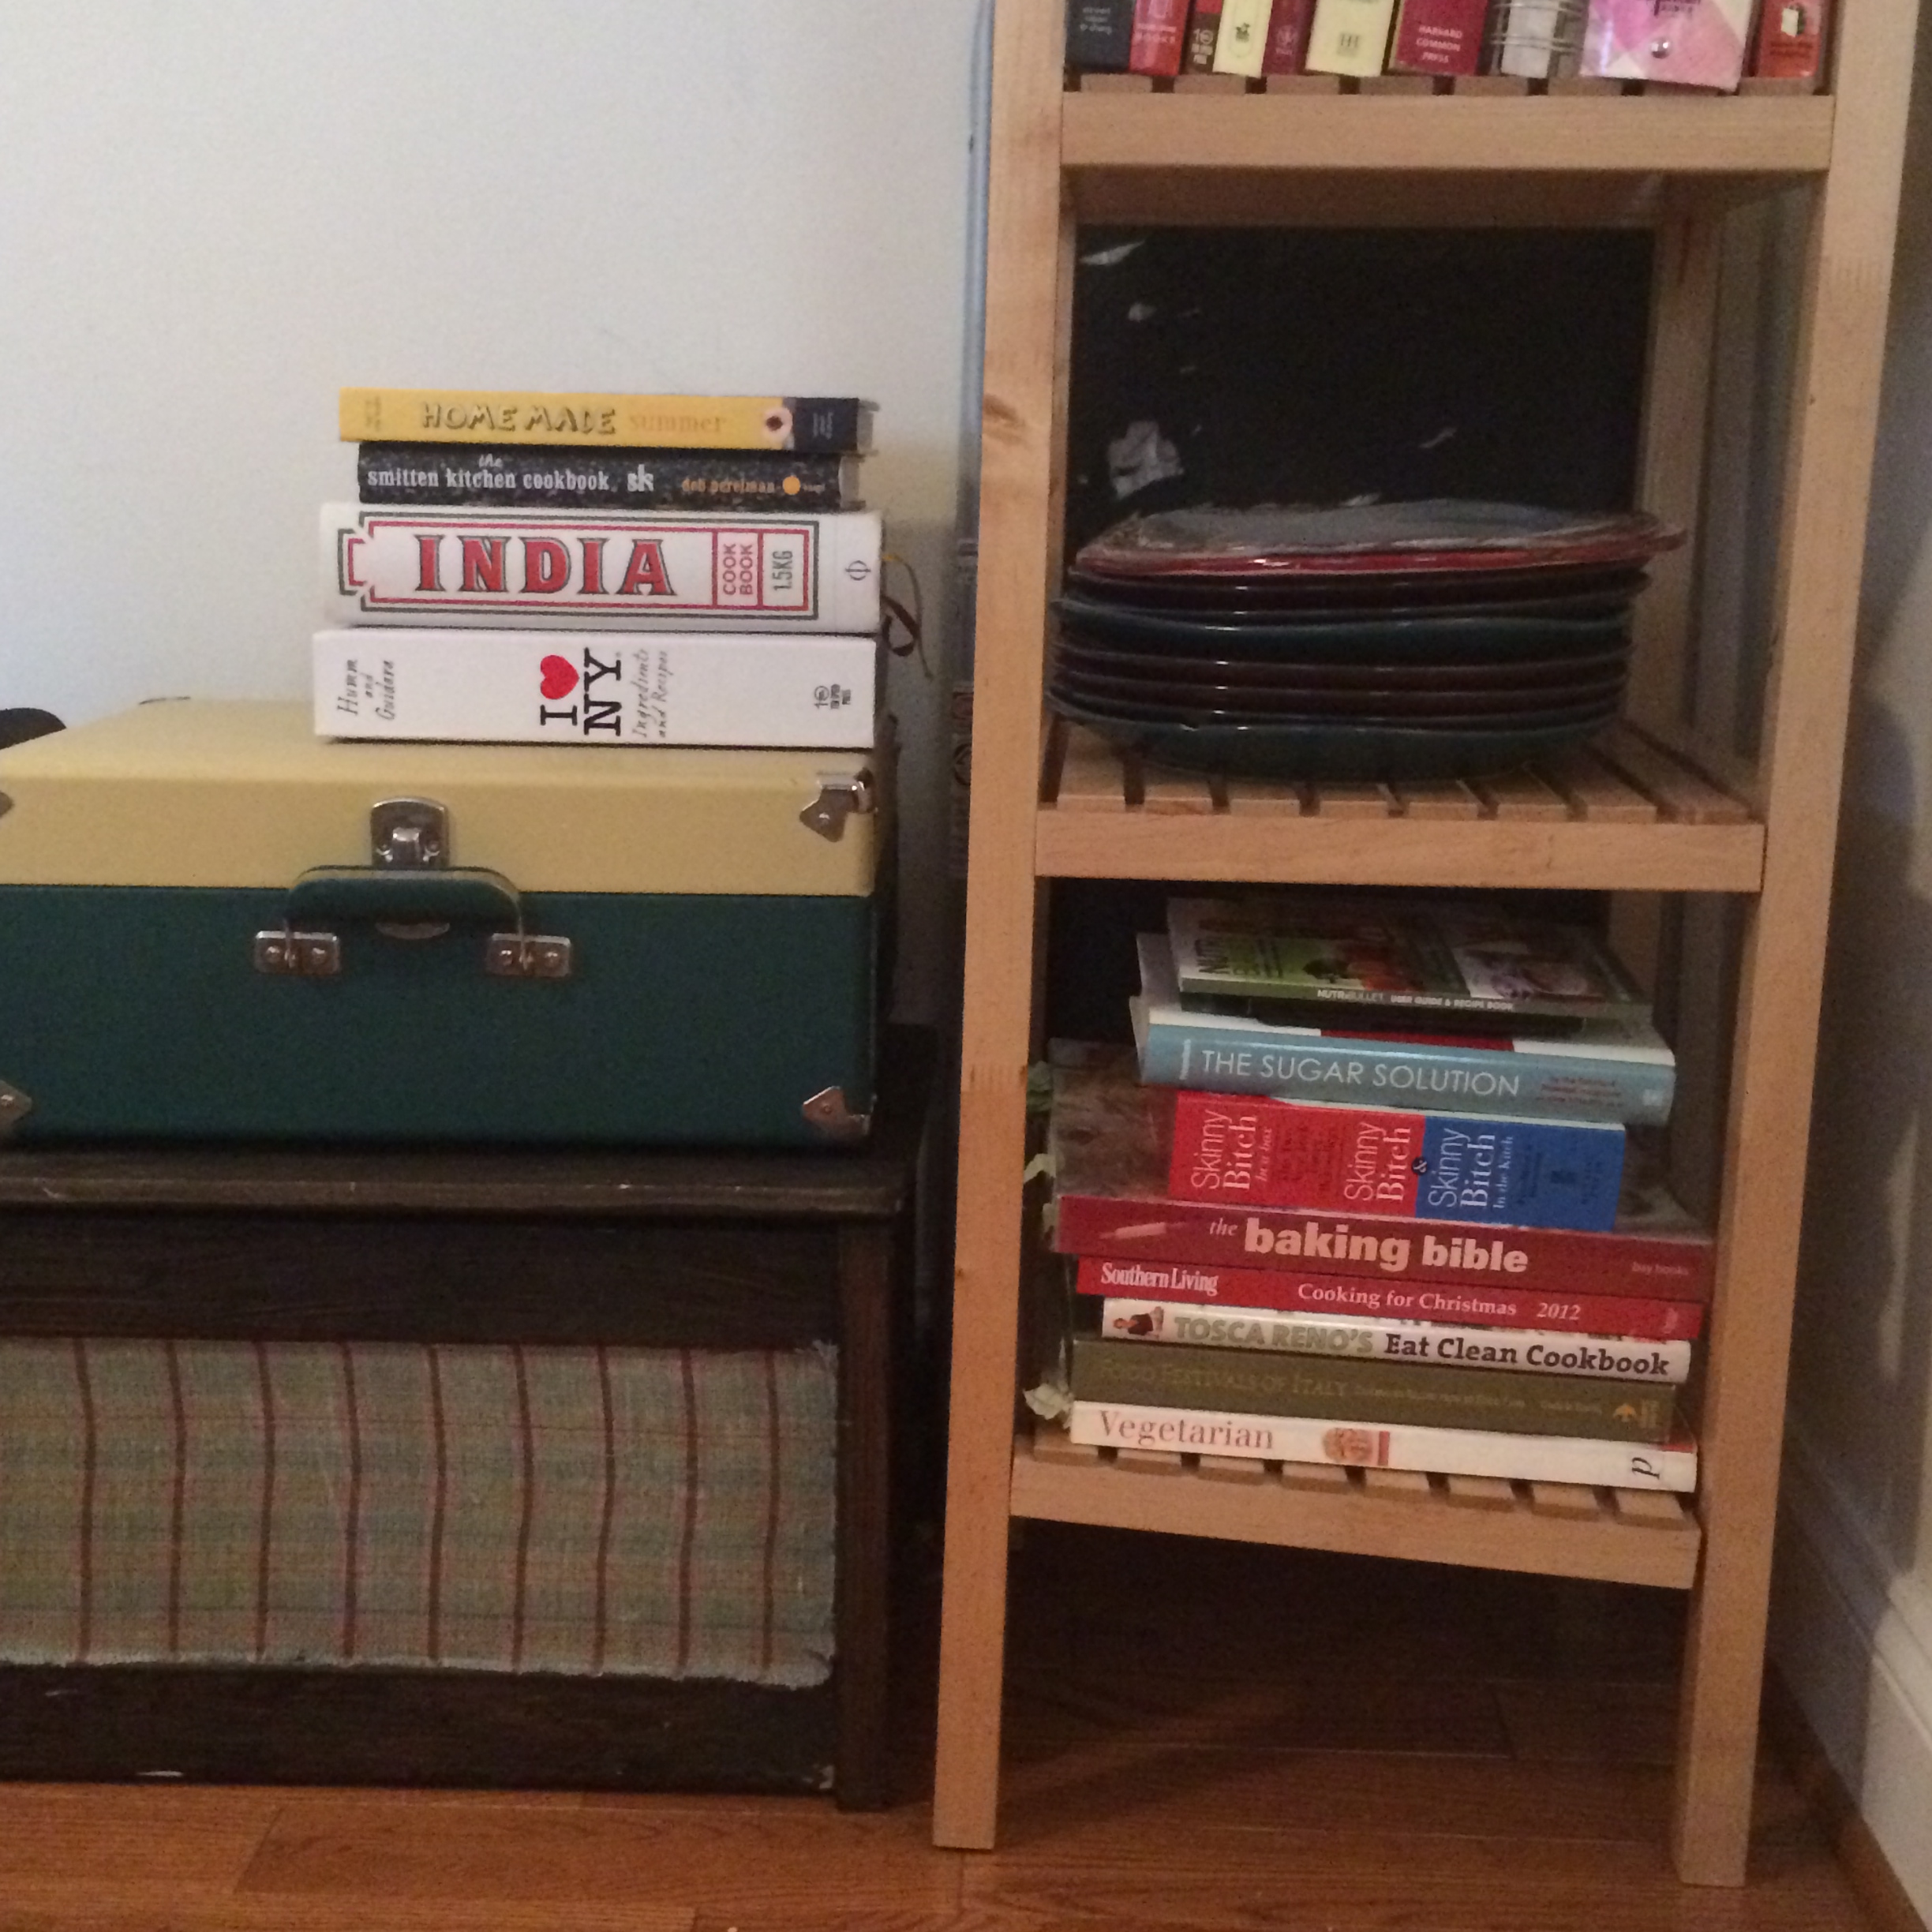
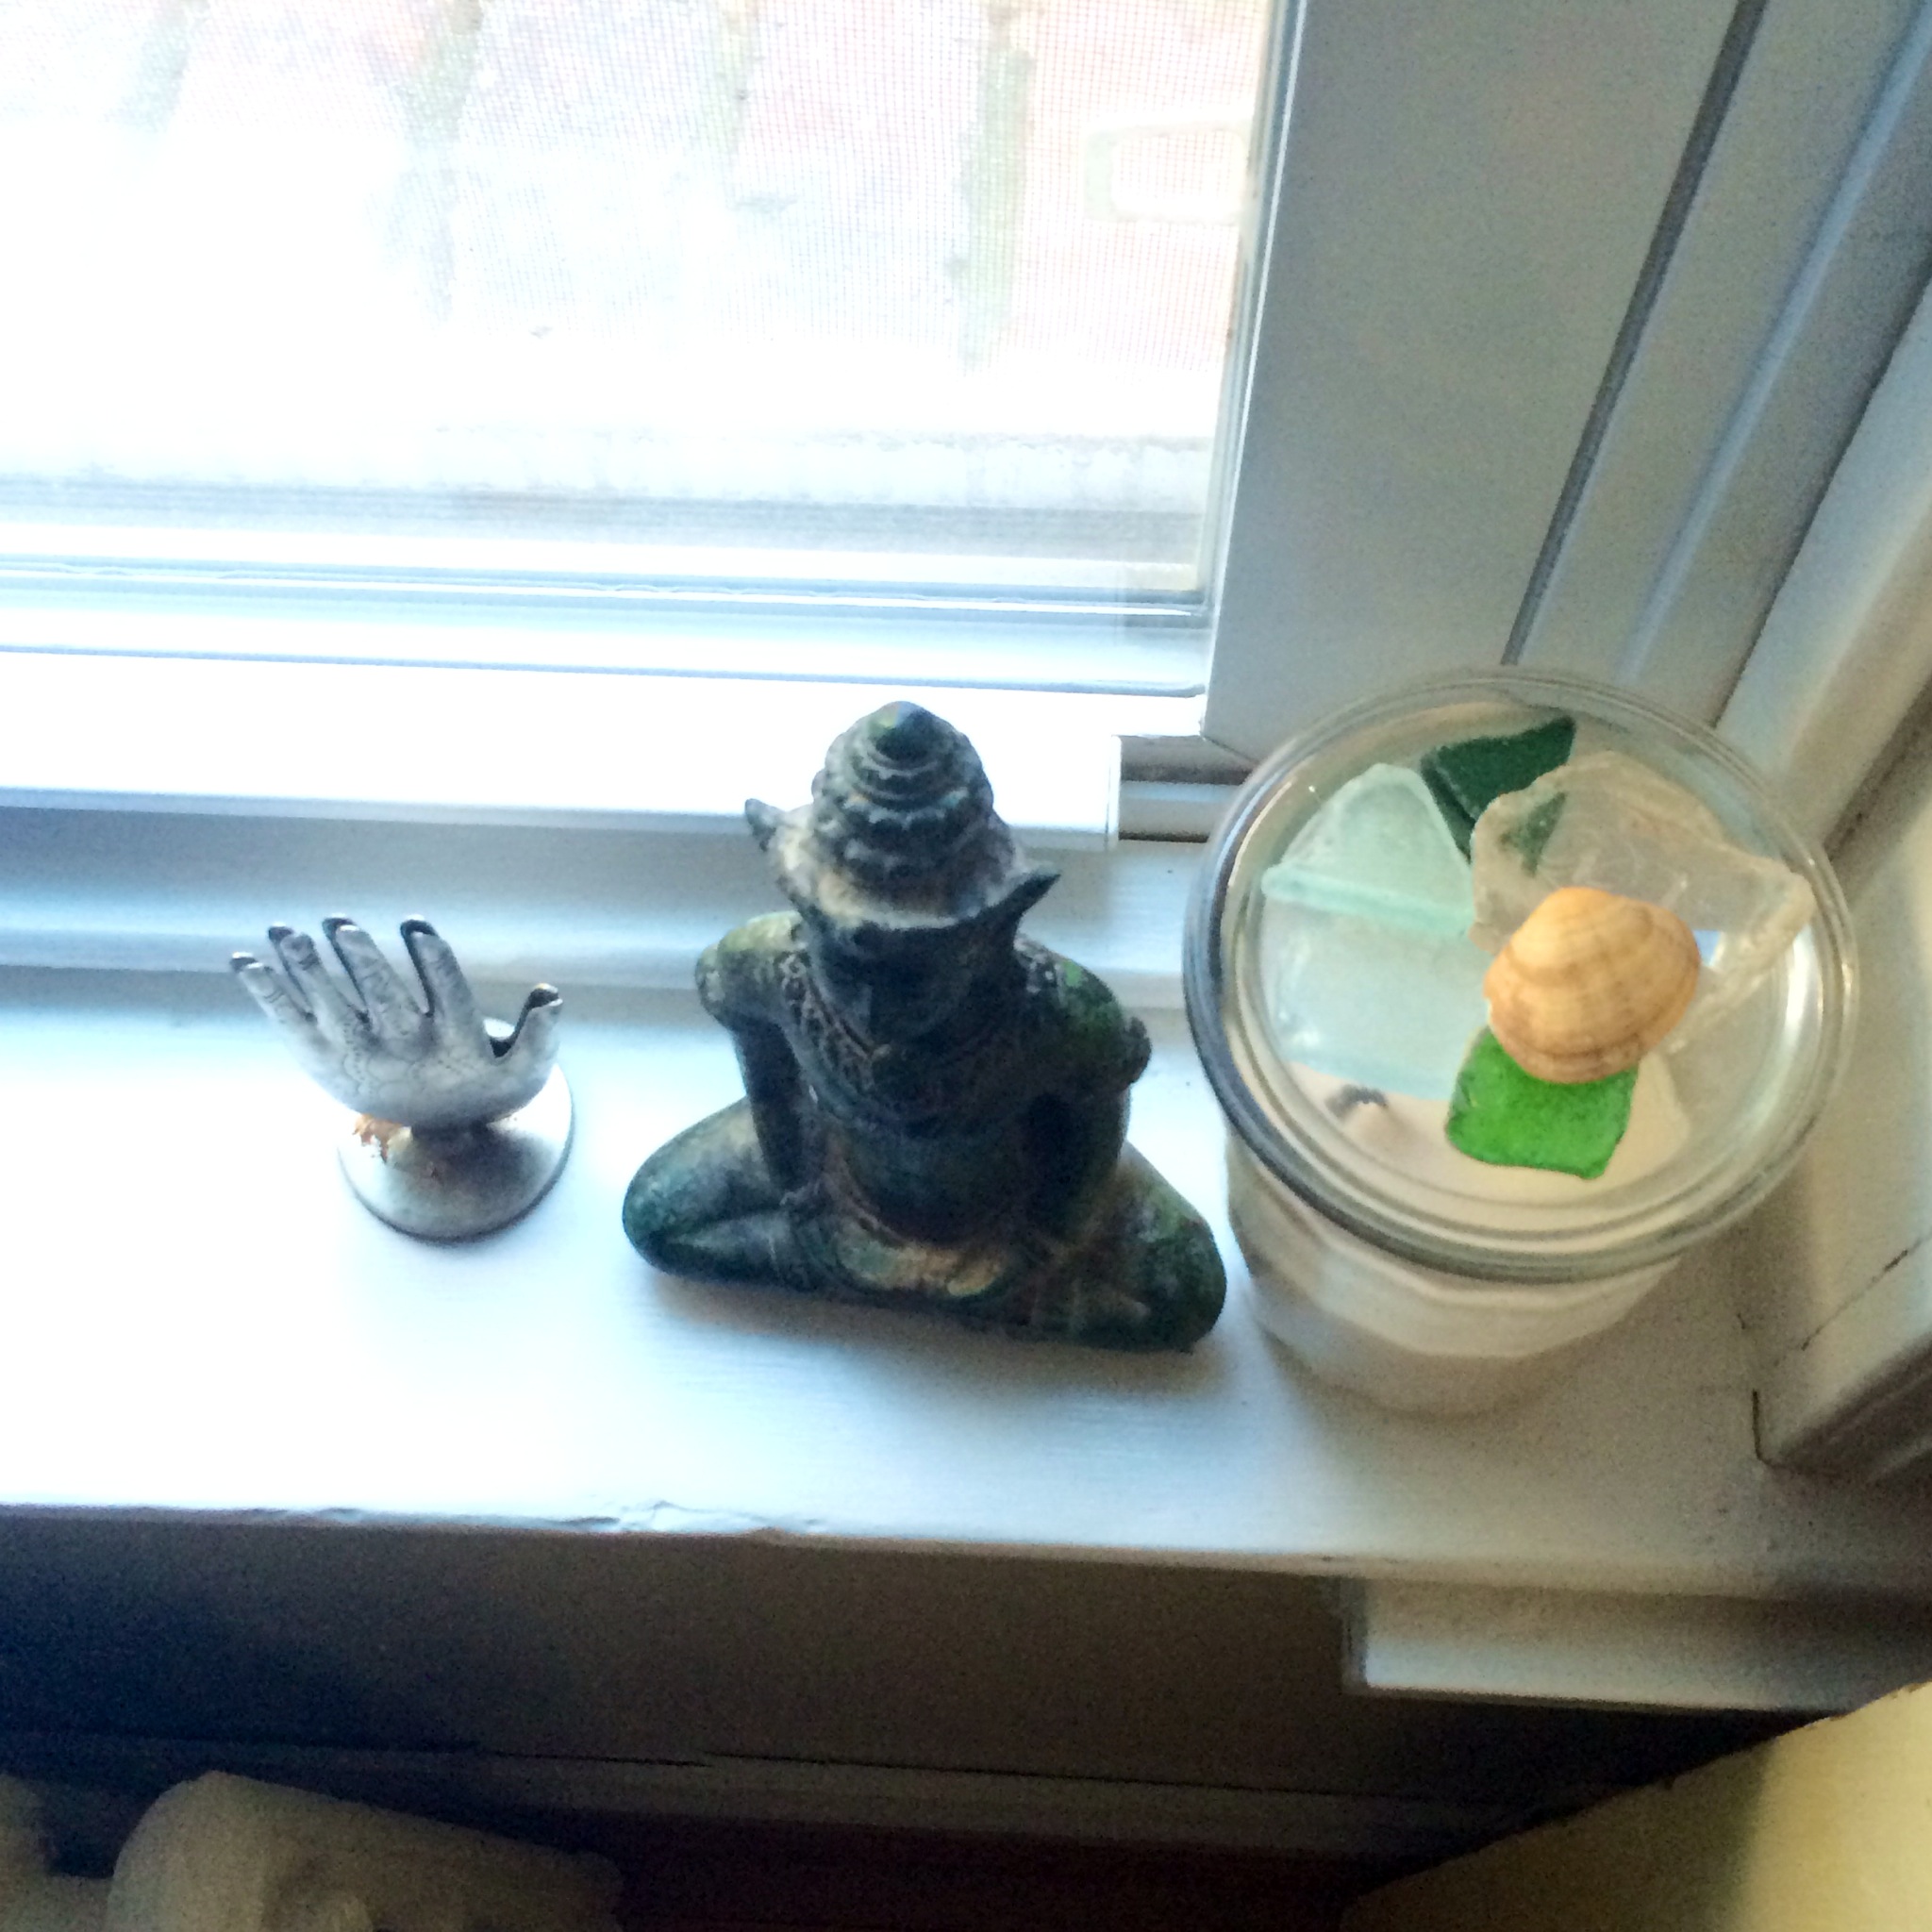


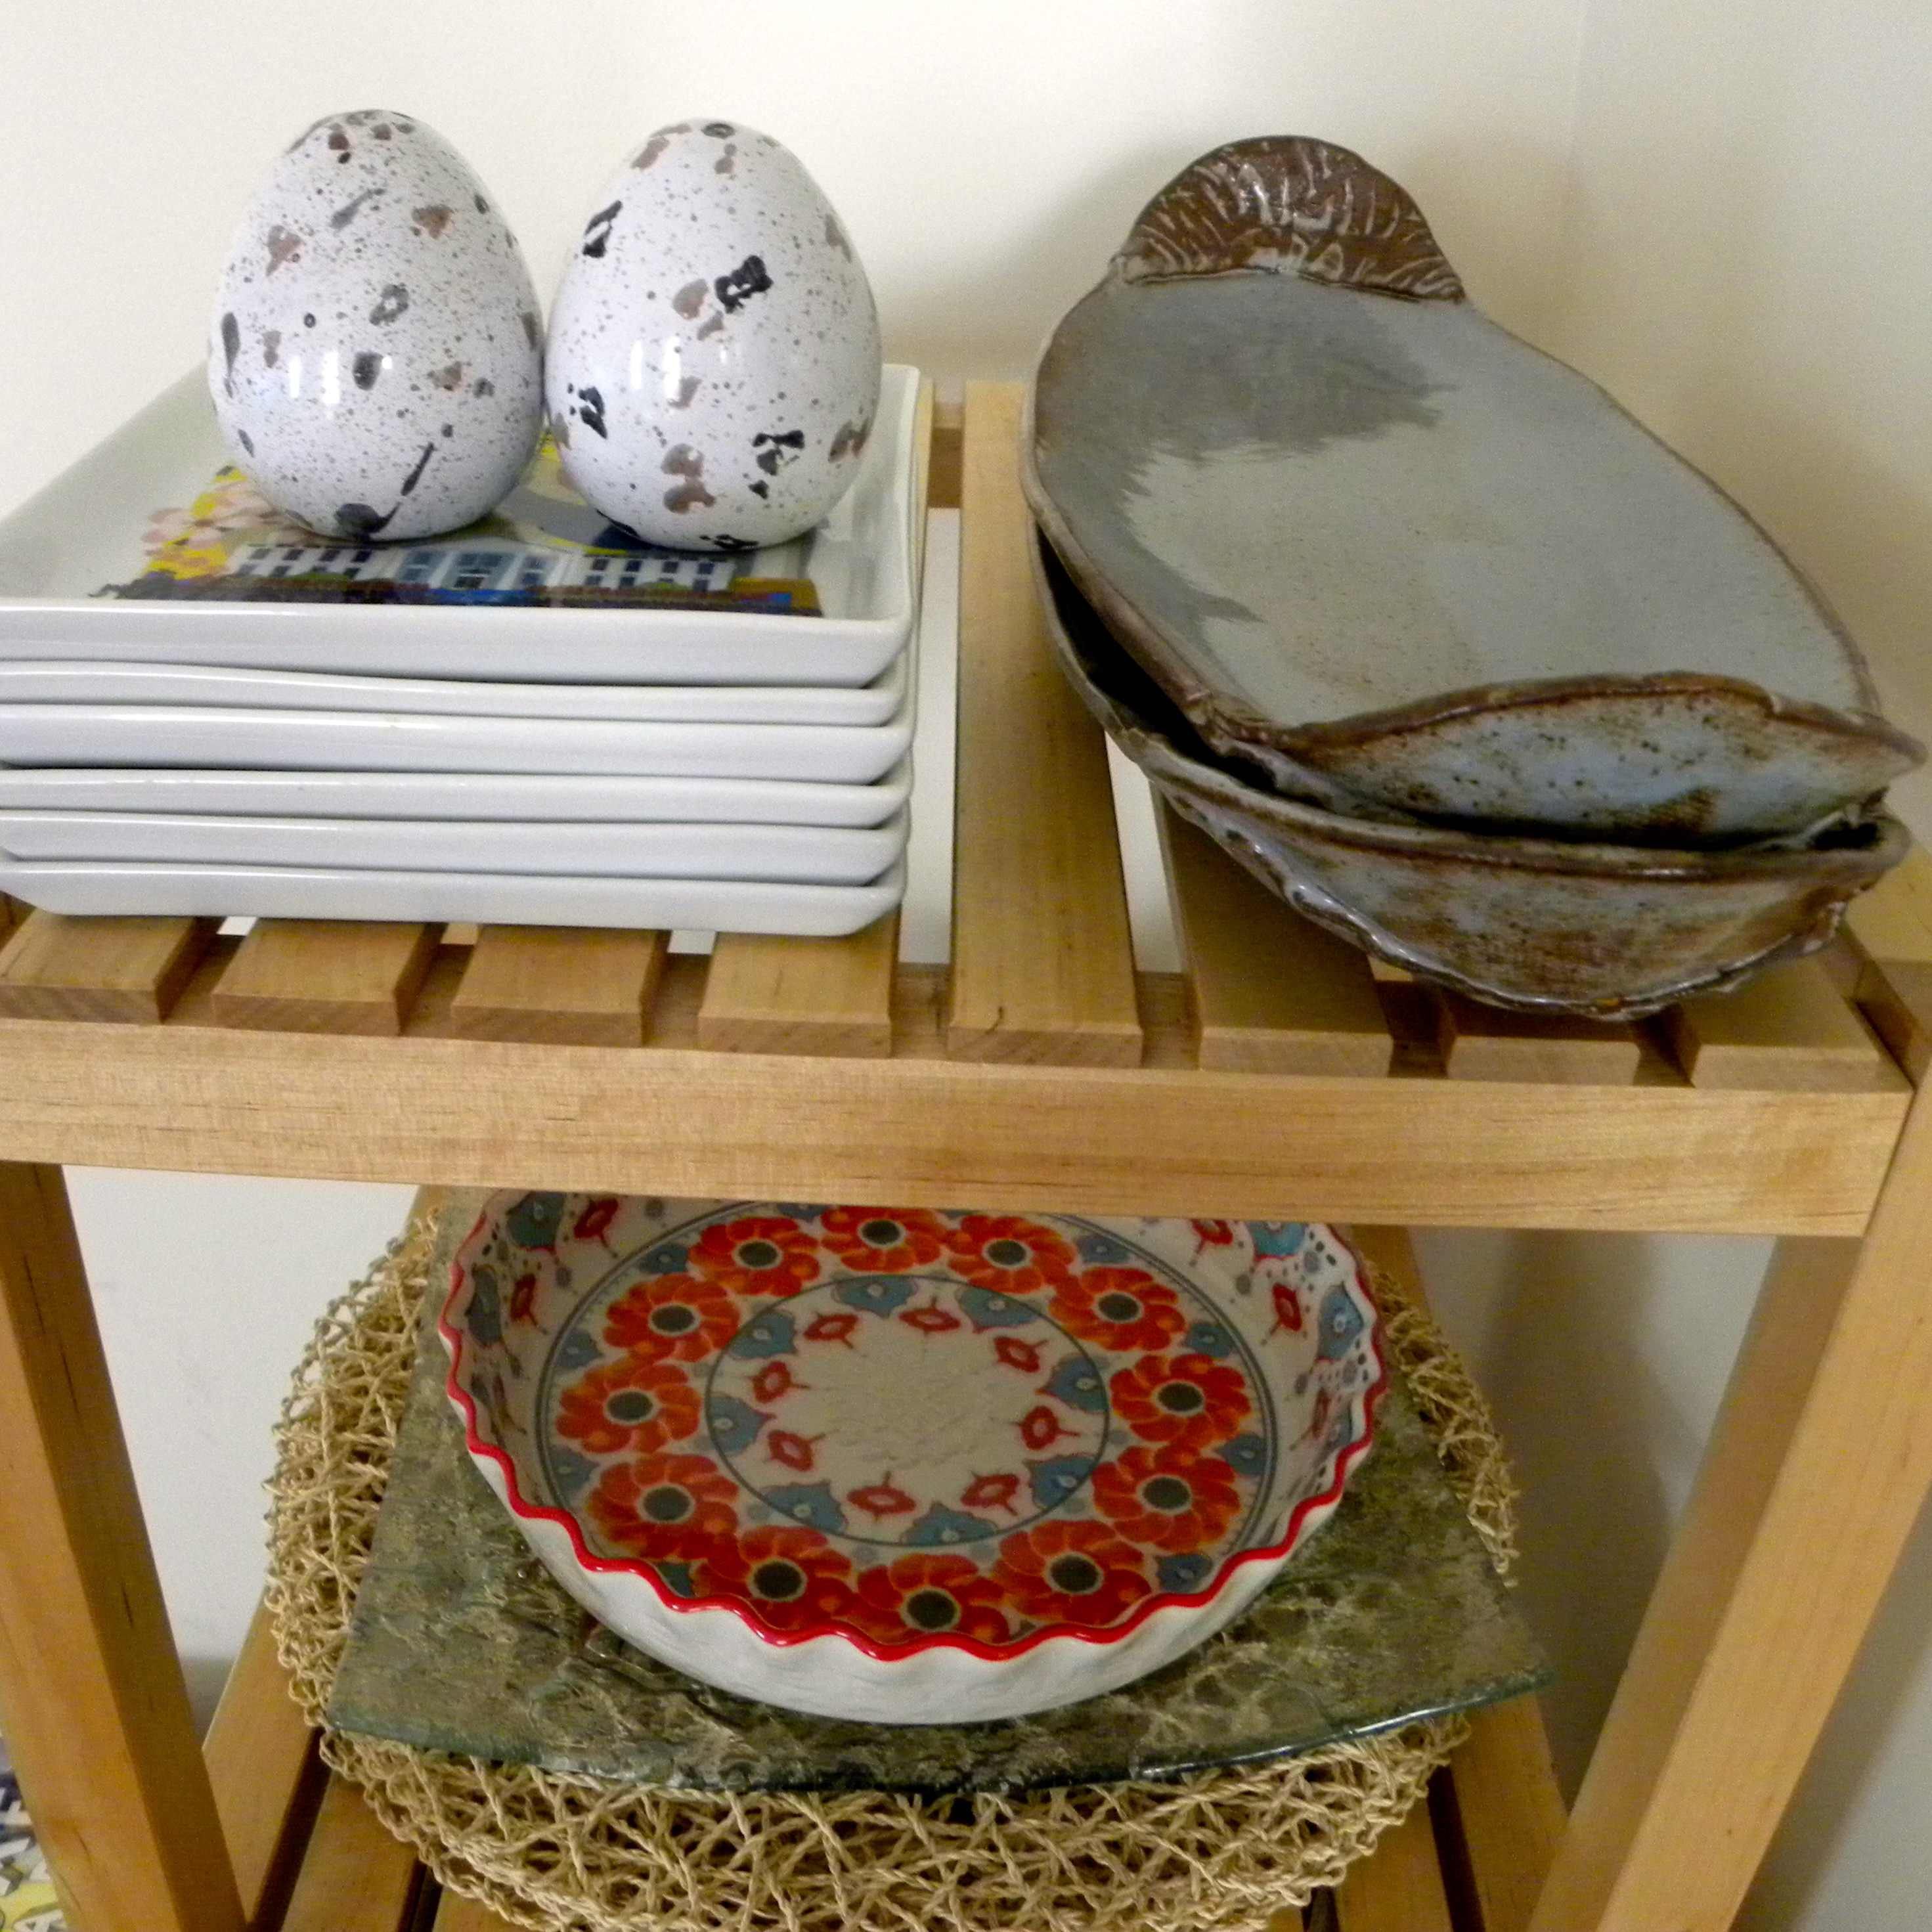


My current space and why I like it.

is that a mustache on your chartreuse chair?

Before: Ikea could have done better.
First, you will want to wash and sandpaper down the chair – give it a clean, fresh feel. It will help making the paint go on smoother. At this time, if you can, unscrew the seat from the chair.
 Then, you’re going to want to start painting. Make sure you shake and stir your paint to make it even. I recommend doing one basic coat, let it dry for 20 – 30 minutes, and then add another. I wanted a really bright, fun, summer color. Obviously
 throw-up green chartreuse was the answer.
 After your first coat, let the chair dry, and begin working on the reupholstery of the seat. As I mentioned, I purchased fabric from Etsy. Make sure your order enough to go around the top, and underneath where there needs to be enough to staple that baby down.

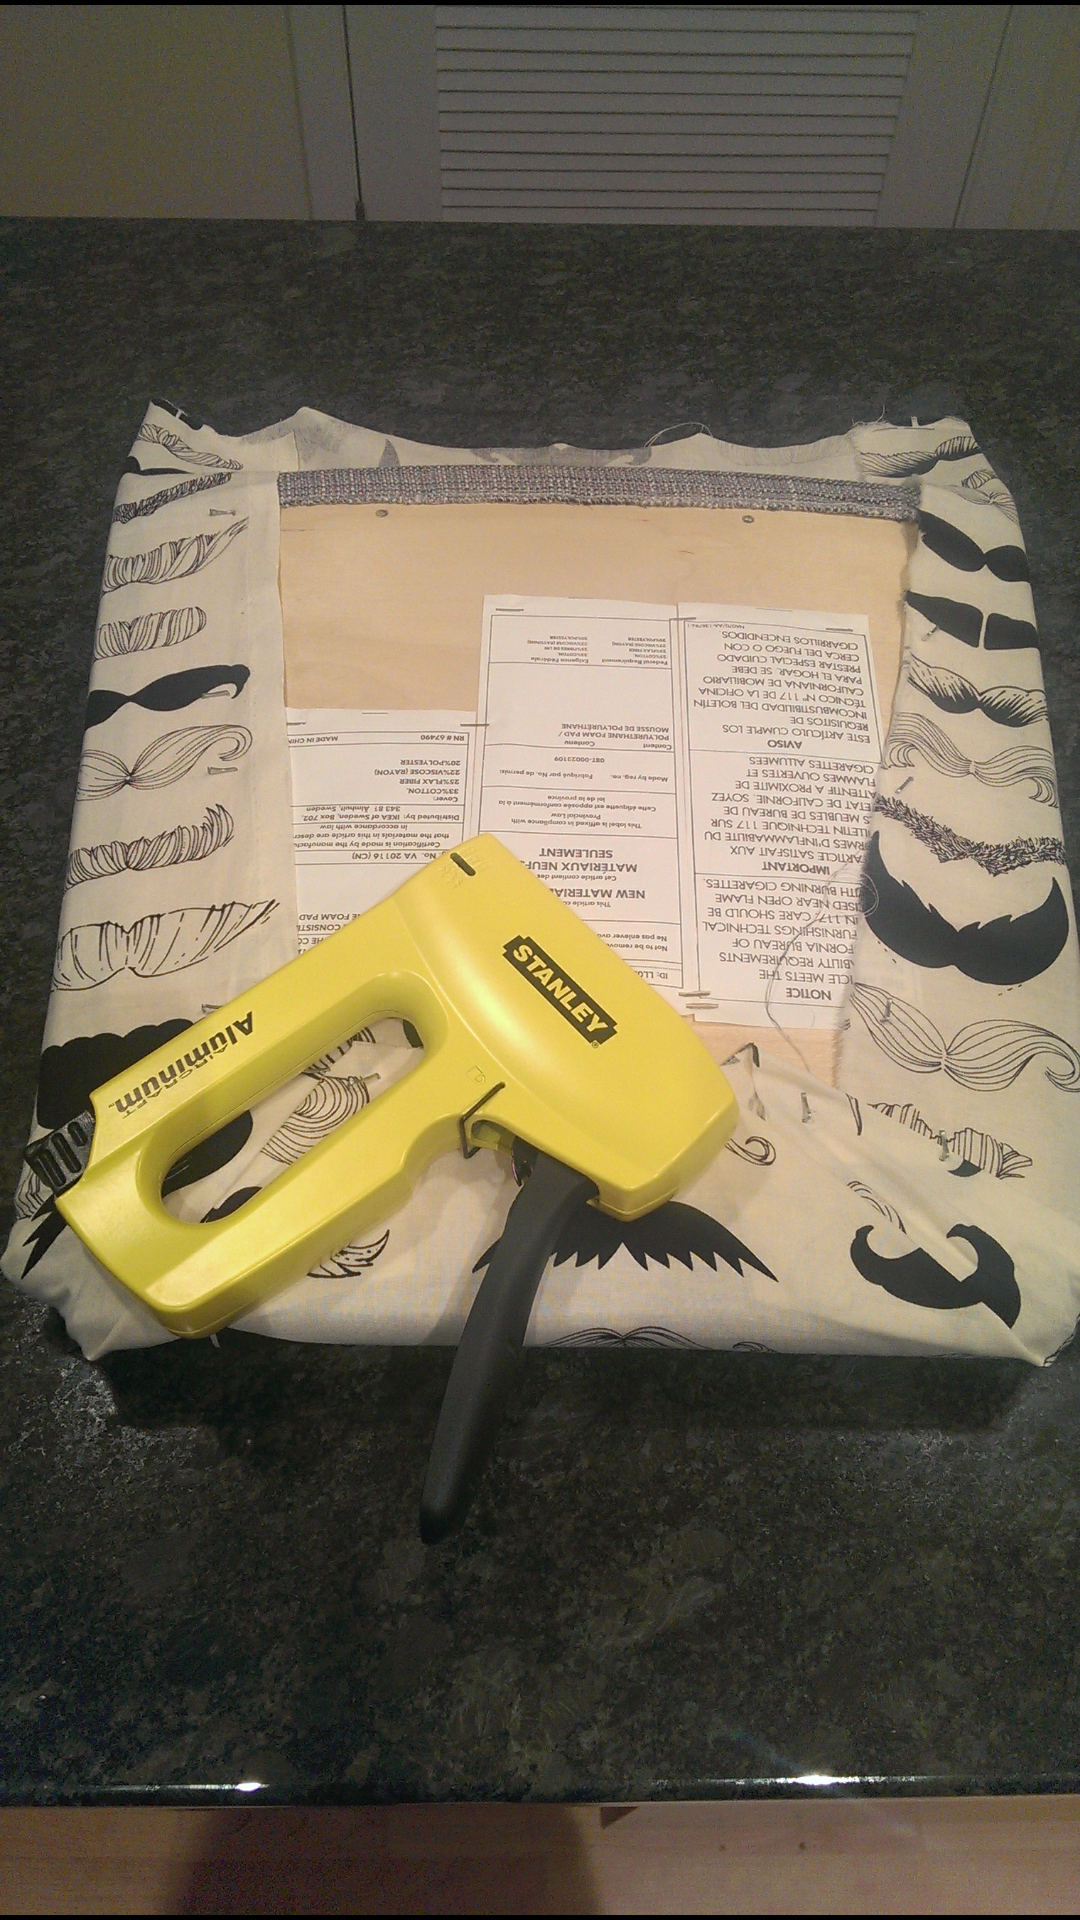 The key is to pull the fabric firmly around each side, to ensure there are no kinks or wrinkles in the fabric. The corners are tricky, I recommend treating it as if you are wrapping a present. Now, if you’re terrible at wrapping gifts, try something else. 🙂 If you don’t have a staple gun, you can always nail in small hanging nails… but do consider buying a gun at Ace Hardware, they’re only like $30 and last forever. If not all of the staples go in completely (they can sometimes be a sucker), use a hammer to smooth them out.
Here you go! Mustaches!
 After the first coat is dry, work on your second paint coat. Touch ups can always be done the next day, too. I recommend waiting 1-2 days after painting to ensure the paint is 100% dry before reattaching your seat.

Inspiring me, driving me crazy, coloring my mind.

why yes I’m pumped for CSA fruits and veggies.
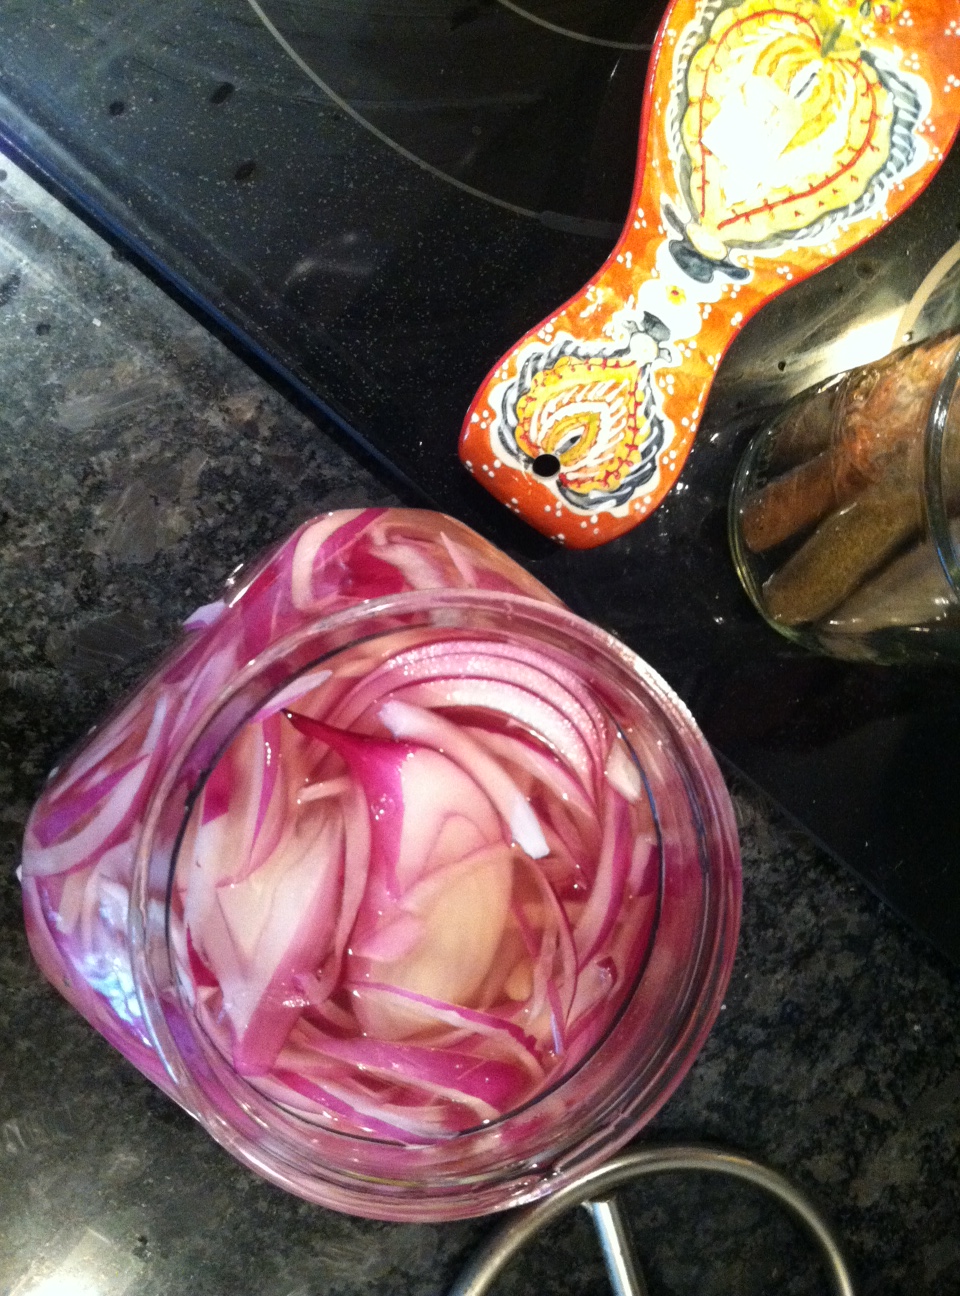
let the pickling games begin.

If Martha Stewart can make buttercream flowers, I’ll be damned to say I can’t.


I cooked carnitas in a slow cooker. This was the only photo I took.

sprinkles making the world go boom.

my favorite lamp from a flea market.
A friend of mine passed along seriously the best face mask recipe I’ve ever used. I’m in heaven. It makes your face smooth, your pores small, and can be used as an exfoliator. Yes, this is definitely not a beauty tips blog, but I couldn’t resist sharing. Here’s what you need:

Before making it, I prefer taking a shower. the steam opens your pores and preps your skin. Once ready, grate the nutmeg, about a teaspoon. Mix it with about a tablespoon of the honey. Rub it lightly on your face. If you have sensitive skin, don’t rub too hard as it will rough your face up a bit. Then, wait thirty minutes. Wash it off with warm water. And then I’d recommend blotting your face with some sort of toner, I use witch hazel ( like my sweet great grandmother used to do).

One very important sidenote: when first moving in with your boyfriend (or girlfriend. Or hell, anyone), I would recommend not putting this on and then sitting in the living room, waiting for the thirty minutes to pass. You will freak out said person. If it’s a male companion, he will remember why he was told at an early age that women are insane.
Last sidenote: place a paper towel around your neck. Honey drips. Enjoy!
Sooo I’m like three months behind. I should be ashamed, but damn I’ve been busy. Started new school programs, been traveling back and forth for work, and oh yeah… I MOVED again.
Oh yes, I said it. I have moved again. But before I get to that, here are my last thoughts on studio living. While it was only six months, I loved living on my own in a tiny shoebox. I will definitely take the sustainability and basic living along with my new space. Here it goes:
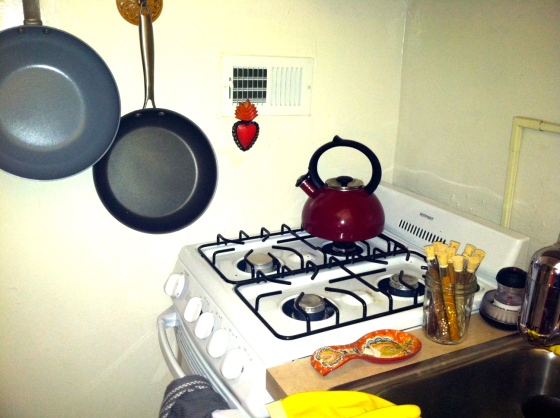
1. Don’t let a small kitchen prevent you from cooking. No really, don’t. Enjoy cooking, and figure out a way to organize all of your equipment. Check it:
 Here, I hung a coat/towel rack and embellished hooks onces used for jewelry to hang my pots and pans, mugs, colander, and dish drying rack (when I wasn’t using it). In the middle is an Ikea bathroom shelving unit that I used to store all of my dishes and baking sheets. On top, you’ll see recycled jars I kept to store my silverware.

Magnetic knife strip: best. purchase. ever. Ok, maybe not best per say, but seriously, this saved space, and it actually got me using all of them, rather than than just a simple pairing knife. At the bottom right is a metal paper organizer I purchased in college for my desk. I hung it on the wall and actually kept mail, coupons, and recipes in it. Really helpful, and brought a little more personality to the space.

So, that’s the kitch. See at the bottom right, my mini fridge. Perfect for one person. On the front is a magnetic hanging rack that I hung scissors, hot pads, and measuring cups on. It was purchased about a decade ago from the Container Store. Note to future self: Never age yourself by dating your kitchen equipment. Above the fridge is my favorite DIY item ever – spice rack in a mason jar.
Moving on…
 When this studio was first built, a murphy bed was up in the closet where my bed is placed. As you can see, the perimeter insert is still there, making somewhat of a nook for my bed. It makes it private. Additionally, I placed my beast of an Ikea dresser as a room divider, between the bed and living area. When you walk in the front door, you can’t see the bed, and honestly, most assume it’s what’s behind the closet door. Win. For studios, less is more, and spacing things out the best you can will definitely help.
Lastly, you should definitely try and make one of these mason jar racks. They’re WAY fun, super easy to make, great storage, and just plain rad.
 Cheers to fabulous studio living!
So many blogs and posts – DIY this season! Make your own gifts! First off, I don’t have time to print out every Instagram photo and make coasters. Nor do I have time to try and crochet a scarf again this year. (I can never remember how to start.) However, I figured I would try to make lip balm. Simple enough. You can make a bunch in a short amount of time, and awesome. You have lip balm that’s cheaper than $4 a tube at Target.. You can buy everything you need at Amazon.com and Whole Foods. Again, Amazon prime this, and you’ll be ready the next day.

First – buy some tins. Or plastic containers. Whatever you want to put the balm in. You’ll also need:
1. Beeswax! I bought the small pellets – it’s easier to melt, and cheap!
2. Oil – I made two batches, the clear one has coconut oil, the rose tinted has a mix of olive and vegetable oil
3. Raw honey
4. Essential oils – for the clear one, I used rosemary, lavender and peppermint. Ha – kind of a weird mix, but it worked out well. For the rose tinted balm, I used rose essential oil and peppermint. About 40 drops of each
5. Pipettes! You can buy 100 for $5 on Amazon – They make pouring the liquid balm into the tins a whole lot easier.
6. I also took a couple Vitamin A liquid pills, sliced em open, and added them to the mix. Good for your skin. I added Vitamin E, but naturally forgot to photograph. These were just in my medicine cabinet – as were the oils.

Next you’ll want to use a double boiler. Since I don’t have one, I used a frying pan, and then put a glass pie dish on top. Pour water into the pan, and let it start to boil. While waiting, in the pie dish, add all of the ingredients. Depending on how much you want, you will want a 3:1 ratio of oil:beeswax. A tablespoon or so of honey. And 30-40 drops of each essential oil. If you want to add color, buy a tube of natural lipstick, and add half of it to your mix. When the water is boiling, put the pie dish on top, and let everything melt. No sense in starting to stir, because everything will just stick to your spoon. So wait, and use the time to remove all the tops to the tins.

When all of the ingredients are melted, take the pie dish off the burner, and use a spoon to stir everything together. Then, use the pipette to put the liquid mix into each tin. About three squeezes per tin.

The mix cools and solidifies super quick, so if it hardens before you finish, just put the pie dish over the boiling water/pan and let it melt again. And there you go! I am going to give the balms away in pairs – it will be a nice little gift. Everything total – and I still have more than half of what I originally purchased – cost under $75. And I made 50 tins of balm. Boom.

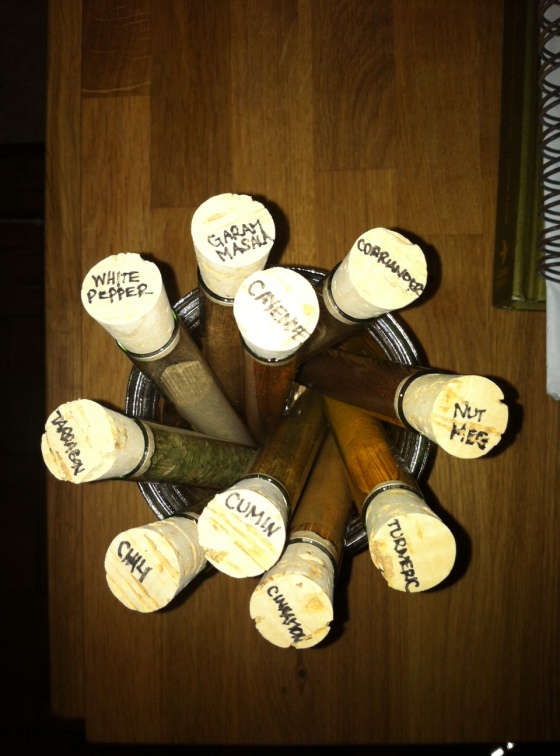
This is my spice rack –
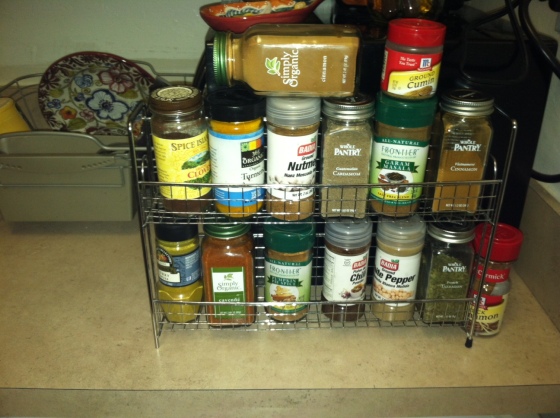
It seems organized, consolidated, and just dandy. But good grief, I’m a lady in a studio with absolutely no space. Especially for spices! The cabinets aren’t tall enough to just stack spices, plus let’s be real, I’m way too OCD to have little containers all over the place. When cooking, you want spices readily available, and ideally in front of you. I also like the beautiful colors of spices… so let’s get creative, and find a way to show em off, without taking over my (no joke) 2X3 foot kitchen. Sad. Anyway, here’s what I did – test tubes! I chose glass ones with cute corks – ten for $10 on Amazon. (And if you have Prime – please, please, use Prime, it only makes sense – free shipping!) Anyway, I bought these, and made a little paper filter to pour the spices in each tube. I’m storing them in an old spaghetti sauce jar, and currently figuring out a way to hang them on the wall. Or, I might just keep them in the jar. I kept the rest of the spice jars under the sink in a box until they run out – when I need to buy new spices I’ll buy from a shop that sells in bulk. This saves space AND it’s sustainable. I’m also starting to think of ways to use the old spice jars in ways other than bringing salad dressing to work.
Sidenote: If you don’t know the smells of spices, make sure you write their names somewhere on the tubes. Use a Sharpie marker or something. That could get things messy.
Woohoo! So much more space!
 So bright and rich!

 Definitely fits better in this little kitchen. Love it.
It happened. Earlier than usual this year, simply because I realized late last night that I didn’t need to ask anyone if it was ok to start decorating.
Boom.
Anyway, here are some photos of my little casa. I have had all the decorations for the last several years — some from when I was in college. They are from various places like World Market, Target, and some of the ornaments are from around the world – Russia, Mexico and France. Anyway, check it out. Here are some thoughts when decorating your own place –
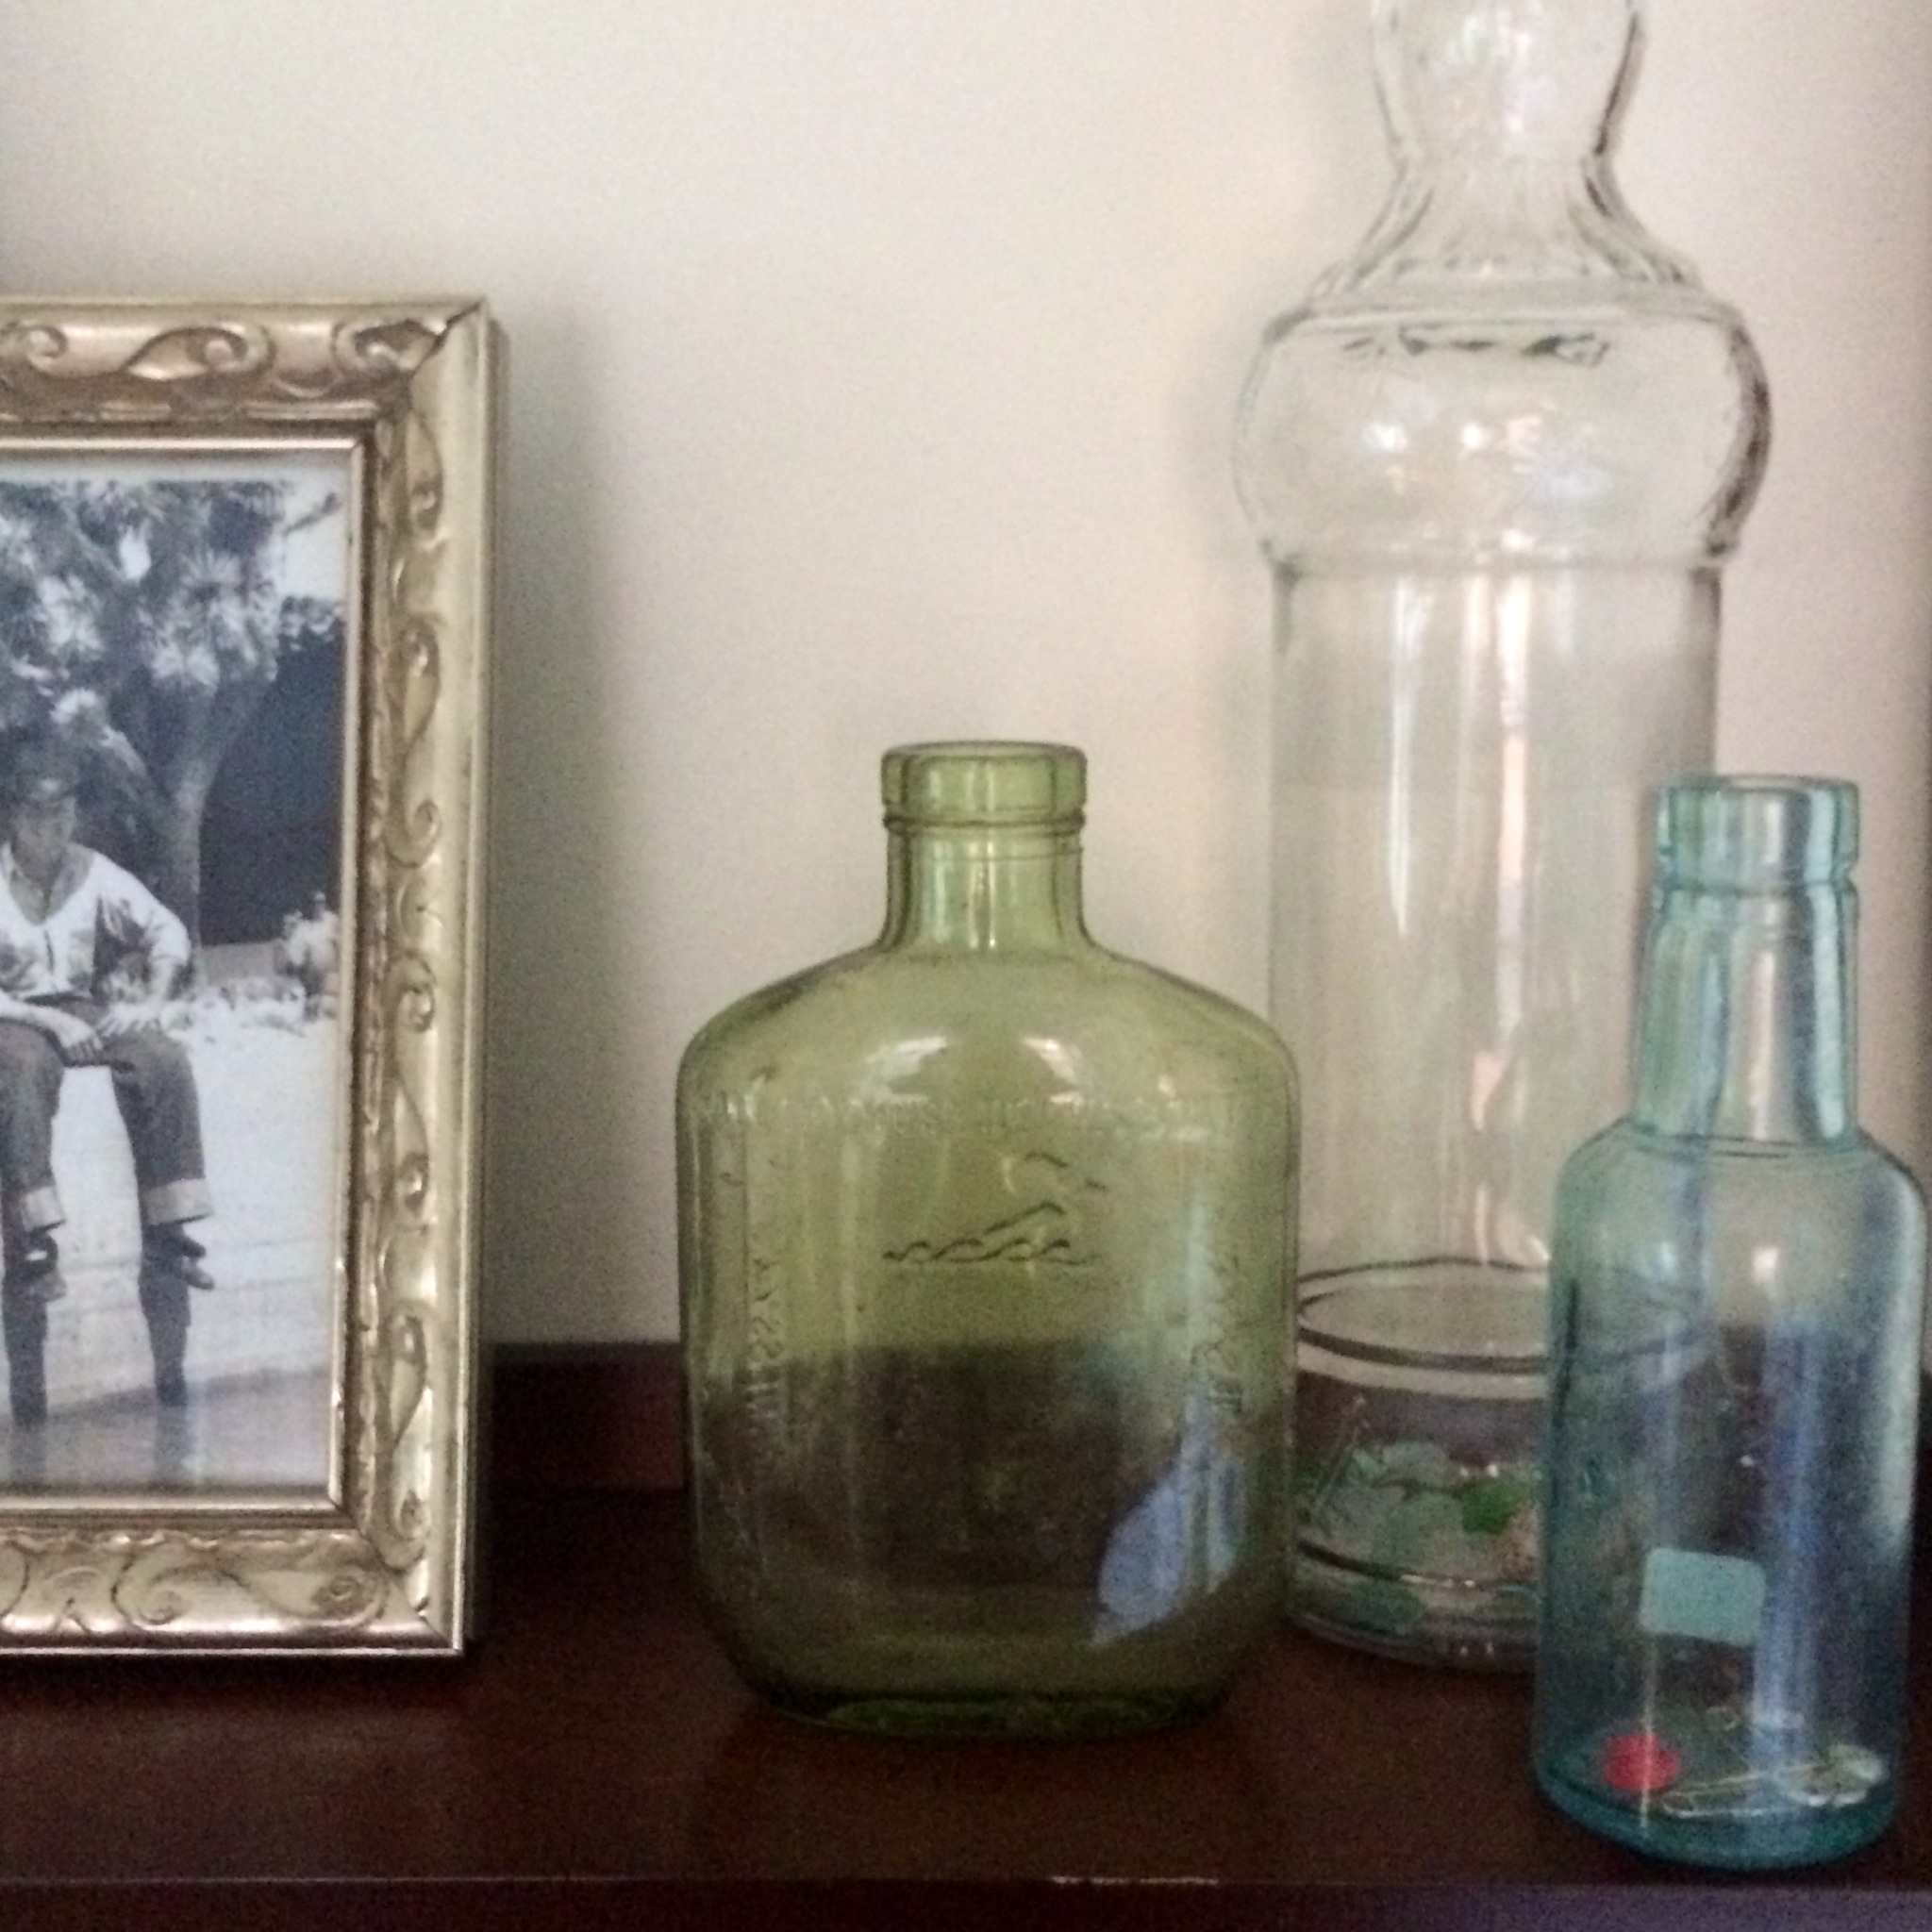
– Keep your regular home designs out, and decorate them. Example: Where my bottles are, I added a couple Christmas trees. It just adds more color and liveliness. You can also see that I hung cinnamon sticks, pine cones and a cranberry wreath on top of my frames. I like the layering look. It’s fun, and not perfect.
– Mix classy with trashy. I love the shiny, tacky garland. And I love natural and earthy color ornaments and decor. Mix them just a bit (see my bits of garland), and I think the finished product looks good.
 For this area, I hung strings of stuff- The flower-like ones are from Target, the other string is small pine cones, cranberries and cinnamon sticks I put together after seeing it done in a magazine several years back. I also love the little green bows and stockings that seriously date back to like 2006. The cranberry (alright, they are puff balls) wreath is from Target three years ago, and the ornament is from France. There was a time when I wanted an ornament from every country. That last lasted like half of one trip. Nice idea though.
 These are some of my favorite Christmas decorations. I have an affinity toward Christmas trees (like bottles), so I have slowly collected different ones throughout the years. Similar to my original set up, they all share a warmth in color – while they may all be different, the sizes and mixed colors make for a nice balance. There’s also a photo of my college girlfriends and I. Nice memory to bring out each year.
 The center piece is a mini cinnamon broom from Whole Foods. I LOVE IT! And it smells AMAZING. I had one a few years back from Trader Joes, one of the larger ones. But trust me, if you live in a studio, the tiny one is all you need. Again – gotta love the gold garland… that was purchased my sophomore year of college, and has lived in seven homes since. Ha!
sidenote: my cat just fell off the couch. hilarious.

 My version of a Christmas tree. The little Russian dolls were hand painted in, you guessed it, Russia. I actually picked them up at the World Famous (I am actually not being sarcastic) Gem and Mineral show in Tucson, Arizona… one of the best places for amazing jewelry and random pieces like this. The wreath is fake, but I use it every year … maybe that’s sustainability in action?
 Here is one big view. I love my cozy space, and I love Christmas decorations. Win. The garland balls 1- 12 represent the Twelves Days of Christmas. I bought them a few years ago from Target (seriously, they sell amazing decorations), and actually kept them up in my last place the whole year.. but not in that you-still-have-your-Christmas-lights-up-in-February sorta way. They’re pretty cool.
I’m going to check out new things this weekend, and see if I find anything fun to add to my collection. Woohoo.
I hope this inspires you to get decorating! (or have me come decorate your place!)
Summer
So this is the other recipe I made today which I found from Vegetarian Times magazine, in their October issue. The salad is super healthy, fiber-ous, filled with great vitamins, protein, and is really tasty. I added and changed a couple things around based on preference and what I had. I actually ended up doubling the recipe, my friend, who served as my sous chef, took home half to eat this week, too. Accompanied with the curried carrot soup, this is going to be a great meal. Filling but light. Looking forward to it. Again, this is vegan!

Millet Salad
What You’ll Need – (for one batch)
3/4 lb of brussel sprouts
1/2 lb Carrots – I added carrots to the recipe, a nice autumn addition
olive oil
3/4 cup millet
2/3 cup chopped walnuts – you can toast them on top of your oven while the millet cooks
2/3 cup dried cranberries – you can chop or just leave them whole
1/3 cup parsley – chop it up (I added more than the original recipe)
2 Tbs balsamic vinegar – I added a little more, base it off taste
1 Tbs maple syrup – I used agave nectar instead
Juice from 1/2 a large lemon, add a little zest too
Directions–
Cut the brussel sprouts in 1/4’s. Cut up the carrots. Place both in a baking pan. Add olive oil, salt and pepper and some garlic. Mix it all up. Bake in 475 deg. oven. Depending on how much you are cooking and what kind of oven you have, cook for about 25 minutes. Check on them for a while, stir em around… I like cooking brussel sprouts until they are a little blackened and crunchy. The carrots should be soft. Mmm this alone is a tasty side dish to any meal.

While the veggies are cooking, put the millet in a frying pan, on medium, and let it cook for 6 minutes. Don’t add anything to the millet, let it brown, crackle a little. After it browns, add 2 cups of water – or veggie broth if you prefer. Let it boil, then turn down the heat, let it simmer, and then cover. Stir occasionally. Like quinoa, the millet will be ready when all of the water is absorbed.

In the meantime, chop up the parsley and toast the walnuts. You’re also going to make the dressing. In a dish, add olive oil, lemon juice, lemon zest, the balsamic vinegar and the agave nectar. Maybe a little pepper. Stir it up, and taste it. I like the combination of the three flavors… lemony, sweet, and vinger. It’s a really nice dressing.

 Check on the brussel spouts. Take them out of the oven, and let settle. Check on the millet. Once all of the water is absorbed, the millet will be fluffy. Take it off the stove, put in a bowl, and let it cool down a little.

Now, fold the veggies into the millet. Then add the cranberries, walnuts, and parsley. Fold instead of stir, this will protect the softened vegetables.
")
Taste it! Maybe you like cranberries – add some more. Maybe you need more protein, add more walnuts. This meal was super inexpensive. Brussel sprouts are in season, cooked carrots are a popular fall dish, and most of the ingredients can be found in the large buckets at stores like Whole Foods – making sure you don’t waste or buy too much of anything. This is especially nice when living in a studio, where space is an issue. I love learning new recipes and making them my own. Like I mentioned in the last post, I think this will pair nicely with the curried carrot soup. I’m going to eat it warm, but it might also be nice cold. With the curried soup and the dressing on the millet, it would be interesting to try adding pan fried tofu to this. maybe cooked it in the lemon and agave nectar. Anyway, hope you try and enjoy it. Also, so nice to have lunch already made to fight your Monday blues. Enjoy!
")
Tonight I prepared two recipes I found in Vegetarian Magazine’s October Issue. I received a six month free gift earlier in late summer, and just received the October, November and December issues this week – Ha! Anyway, I went through them and cut out the recipes I was excited about. Today, I made the curried carrot soup with roasted pistachios AND this warm millet and brussel sprout salad. I’ll post that recipe next. I made both recipes for tonight’s dinner, dinner tomorrow, and lunch on Tuesday (maybe I’ll freeze the rest)… with Thanksgiving on Thursday, I want something light and nutritious so I can eat a disgusting amount of stuffing, turkey, and pie. Not sure in what order. I. Can’t. Wait.
I changed some things around, based on what I had and how it tasted. Let me know your thoughts. Both recipes are vegan.

Curried Carrot Soup –
What You’ll Need
Bag of carrots – the recipe called for grated, I just bought a bag of baby and chopped them up
2 large leeks – The grocery store ran out of leeks, so I bought a large white onion instead and chopped it up
4 cups of water – I didn’t want my soup that watery, so I only added two cups. (Note: maybe use vegetable broth, low sodium, next time)
handful of roasted pistachios – chop ’em, or don’t. they are a nice crunchy and salty garnish
olive oil
1/4 and 1/8 tsp. baking soda – not sure why the recipe adds this, but maybe it’s a thickening agent?
1/2 tsp. curry powder – what?!! In my humble opinion, that’s definitely not enough curry powder. I think I probably ended up tripling that… so add how much you want based on personal preference. I like spice. I also added cinnamon to mine.
Screw it – add cinnamon. It’s a nice, autumn-y touch. 🙂
Directions-
In a large pot, heat up the olive oil, probably like two splashes of it. Add the baking soda (Note: this feels like a science project) Then add the cut up carrots and onions. BOOM. Just kidding. Stir ’em up, close the pot, and let everything cook for like 15 minutes or less. Stir every couple minutes, and watch for the veggies to soften.

Add 2 cups water and curry powder. Let it cook a little. Then pour the soup into your blender (if you don’t have an immersion blender, ugh, sad face). Blend up, maybe add some black pepper.

Serve with pistachios on top. Maybe some raisins too, if you want something a little sweeter. If you aren’t going veggie, this might be nice with a savory, roasted rosemary chicken. Yum.
Seriously, this soup is SO easy, cheap, in season, and delicious. Carrots are one of the super veggies, spices are good for you system and your soul. And really, who doesn’t like pistachios?
Additionally, cook while listening to Mariah Carey, have football on mute, and you’ll have yourself a golden Sunday.
