The walls in our apartment are all clean white. There’s original molding and glass, simply, they’re beautiful. Growing up in a house where the walls were always changing colors, and even the ceiling was a “white lime” color, I’ve learned to appreciate the spaciousness that white creates, especially in a small New York apartment. That said, you can take the girl out of the eccentric home, but you can’t take the eccentric home out of the girl.
More so, I wanted to see what we plausibly could get away with in regards to rental rights. Because after moving in two sofas, we’re never leaving.
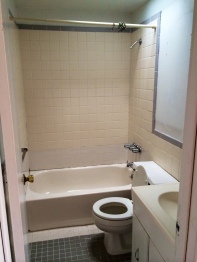
Our bathroom has a great sunlight, but other than that, it’s small. It’s mixed in white tiles where over time old ones must have broken off. There’s layers and layers of old paint, grey and white cements covering the tiles in illogical and messy ways. There’s also mold. A lot of mold. To top it off, the most recent paint job was one layer of white, so poorly painted you could see the lilac purple underneath.
I mean, it’s gross.
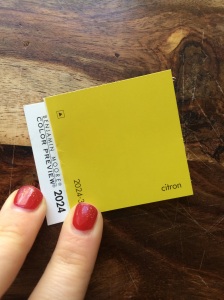
Originally I wanted to paint it a dark slate grey/blue. But who wants to poo in not only a small room, but a dark and small room? So we nixed that, and I went to, obviously, my favorite color in the world — chartreuse.
Adding a lick of paint to your walls not only brightens the space, it cleans it up, makes things feel fresh, and is an inexpensive way to redecorate.
What You’ll Need (to clean, caulk, and paint your poo room) —
1. a flat head screw driver
2. paint. our bathroom is teeny tiny, and the tiles cover a lot of the walls, so we only needed 1/4 gallon. I recommend making sure the paint is mold proof and bathroom friendly. We used a satin finish — not shiny, but not chalky-matte.
3. a couple paint brushes. I used a 1″ one that I already had, as well as the brush I swear by, the shur line paint edger — it’s smooth, and helps with painting corners and edges.
4. painter’s tape.
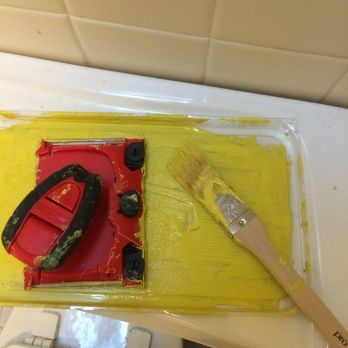
5. something to place the paint in. Incidentally, the plastic cover to a container of Swiffer mops works quite well (just make sure you don’t need to use it again!)
6. maybe a ladder, or you can do the little dance I did while painting on the edge of the tub.
7. brush or vacuum and cleaning all-purpose spray. I like Method.
8. Spatula and wall putty – in case you have old holes in the walls. Maybe some light sand paper.
9. bathroom caulk. This is different from caulk I used to cover mouse holes. But the practice is the same, so if you’re unsure how to use caulk, read this post.
Directions
Before you paint, clean up the space. wash the walls down — there’s definitely a layer of grime and water from showering, which also means gross bacteria that you don’t want under a new coat of paint. Wash down everything including all the tiles with a cleaning spay.
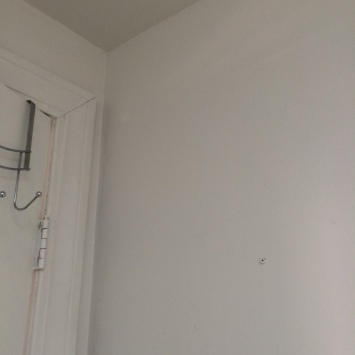
For us, there were holes all over the walls. And awkwardly placed HUGE screws, that of course were painted over from before. We patched them up, too. Once dried, I sanded them down just a bit with a light sandpaper to make sure the walls were smooth.
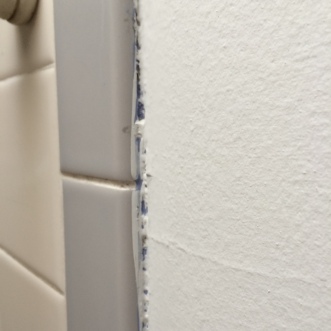
The bathroom tiles had old layers of paint and cement and caulk EVERYWHERE. Use a flat head screw driver to pull and scrape it up and off. Be careful to not make a hole into the wall. In addition, this is a great time to recaulk your tub. Where the caulk was once white and water proof, it’s now black (mold) and gross. Use the flat head to scrape out the mold. Once you’ve scraped out everything nasty, make sure it’s clean and dry, and then use the caulk tube, and slowly squeeze out the paste. It will need 24 hours to dry, so don’t do this right after working out (note to self).
Before the paint pic, check out this beauty. After pic of recaulking the tub. Hallelujah, I’m not getting some weird growth on my feet!
After you finish cleaning up the walls, removing old paint from the tiles, tape up where the wall meets the ceiling and the tiles. Oh yeah, remove the switch plates 🙂

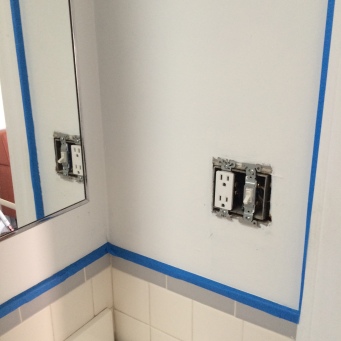 Then, start painting. If you choose a bright color like we (ok, I) did, you’re gonna need to paint two layers. Use the edge brush to get the main bits, then use the smaller 1″ one to finish the corners or hard to reach areas.
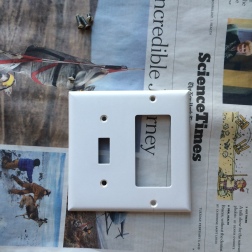
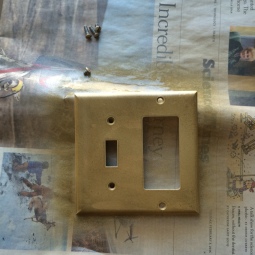
Between coats, spend your time getting crazy with spray paint. Just ask, would Beyoncé had a gold switch plate? Probably. (Make sure to spray by layer).
Then, after painting your second coat wait like 30 mins, and remove the painters tape. Waiting too long can sometimes pull up the paint if it’s dried on top of the tape.
Not only is our bathroom brighter, it’s cleaner, the tiles aren’t covered in decades of paint, and it’s mold free!
Next up, the kitchen!


